
Tall Card Using In The Studio Winterberry Lane Collection by Kath Westwood
You will need:
- ITS Winterberry lane collection
- A4 White card stock
- A4 silver card stock
- A4 pale blue card stock
- Glue
- Glue gel
- Foam pads
- Guillotine
- Scissors
- Red organza bow
- Sentiment
- Glitter
-

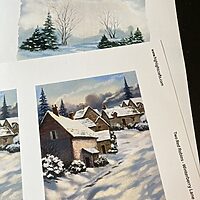
- Step 1 Print the artwork, and die cut the elements you need for this project.
-
- Step 2 Cut card stock to size as follows. For base white, 2 at 8 x 4”. Pale blue, 1 at 7 3/4 x 3 3/4”. Silver, 1 at 7 1/2 x 3 1/2”. Scene, 2 at 3 1/4 x 3 1/4”. Cut more card stock as follows. White, 1 at 4 3/4” x 4 3/4”. Pale blue, 1 at 4 1/2” x 4 1/2”. Silver, 1 at 4 1/4 x 4 1/4”. Scene, 1 at 4 x 4”.

-
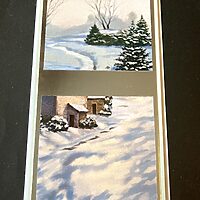
- Step 3 Score one of the tall cards at the top, approximately 1” down, fold back, and attach the 2 pieces together to make the card base.

-
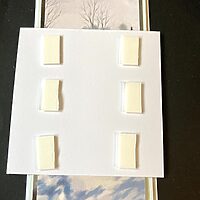
- Step 4 Attach the layers to the base card using foam pads and tape.


-
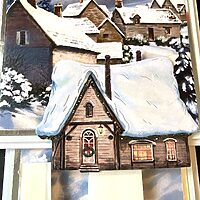
- Step 6 Use 2 foam pads on top of each other to make the height the same as the centre of the card, for the die cuts to sit on. Add the house, children, and trees to the bottom of the card, glue smaller trees to the top.

-
- Step 7 Add a red bow, sentiment, and glitter to finish off your card.

Have fun creating this card! We would love to see your projects in our FaceBook groups! Crafty hugs from Kath W 😊


Leave a Reply
Want to join the discussion?Feel free to contribute!