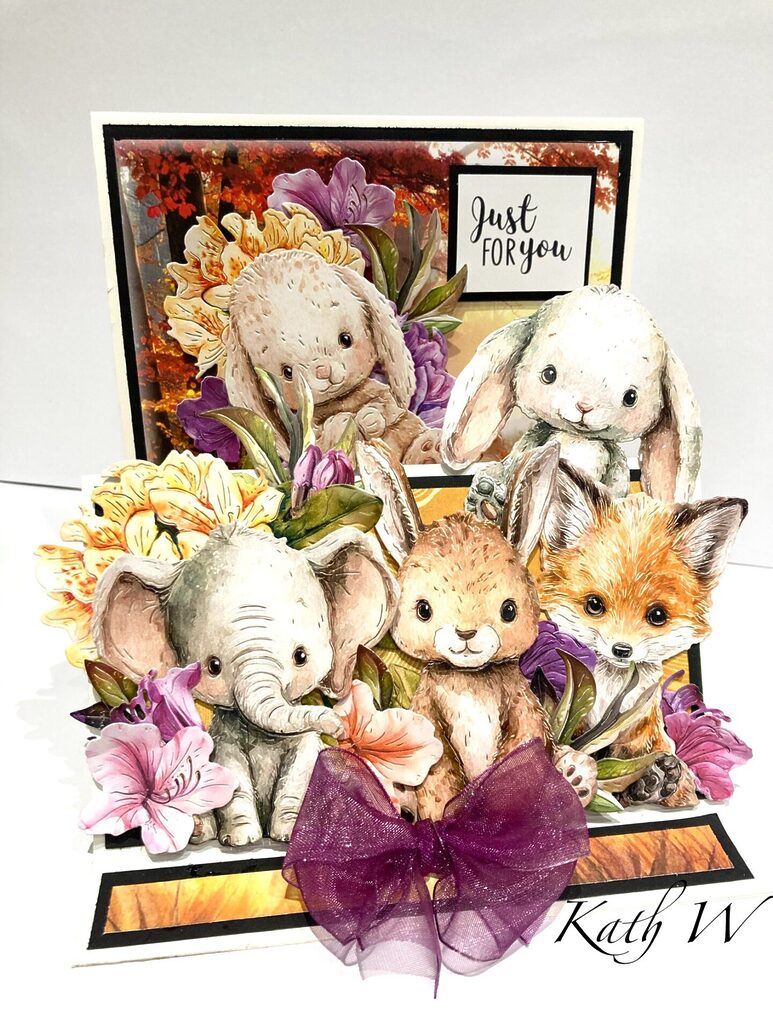
In The Studio The Wild Side 6×6 Stepper card by Kath W
For this project you will need:
- Two 6 x 6 card blanks
- One card blank cut to 9×6” (folded in half)
- In The Studio The Wild Side die collection
- Two Red Robins Flower Of The Month Rhododendron dies
- In The Studio Quillbert artwork scene 01 & texture 03
- Purple bow
- Sentiment
- Glue
- 3D Glue gel
- Scissors
- Scoreboard
- Double-sided tape
-

- Step 1 Print the artwork and reflections onto Craft Master 250GSM Premium Pure Print. Die-cut the flowers for later.

-
- Step 2 Take the two 6×6 card blanks, glue them together as shown in the picture below.

-
- Step 3 Take the smaller card blank, score 1 inch at both ends. Glue along one side and attach to the front of the main card, making sure that the edges are level, this is now the card shape you will be working on.

-
- Step 4 Cut black card as follows, and attach these to the card using glue or tape. Cut 1 at 5 3/4”x 5 3/4”, 1 at 5 3/4” x 4 3/4”, 2 at 5 3/4” x 3 1/4”, 2 at 5 3/4” x 3/4” .

-
- Step 5 Cut your scene and patterned papers down to size as follows. 1 at 5.5” x 5.5”, 1 at. 5.5” x 4.5”, 2 at 5.5” x 3.5”, 2 at 5.5” x 1/2”. Glue on top of each of the black layers. See photos for reference.

-
- Step 6 Add 3D glue gel to the back two of the large rhododendron flowers, and add to the scene, followed by one of the rabbits, then add flowers and other animals to the front section of the card. Attach a sentiment and bow and your card is complete!


I hope you enjoy my tutorial! We would love to see your version of this card, so please don’t forget to share it in our Facebook group! Happy crafting from Kath W 😊


Leave a Reply
Want to join the discussion?Feel free to contribute!