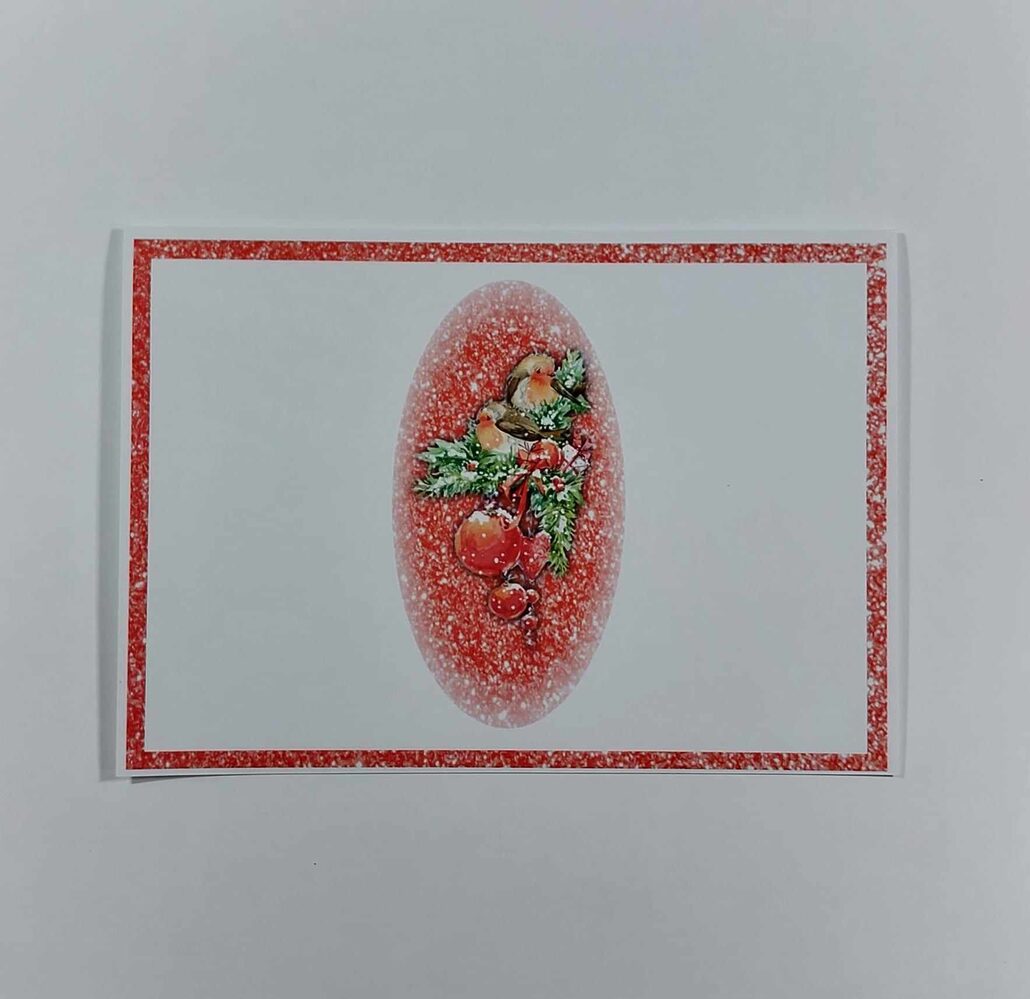
Frozen Kisses Card by Anjie McChesney
Anjie shows how to utilise the functions within My Craft Studio to create a fab festive card design with Tattered Lace Frozen Kisses USB. The ideal way to batch make lots of Christmas cards, while still being able personalise them too!
You will need:
Tattered Lace Frozen Kisses MCS USB
-

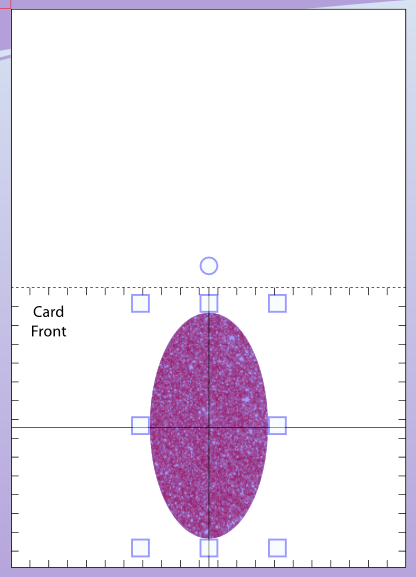
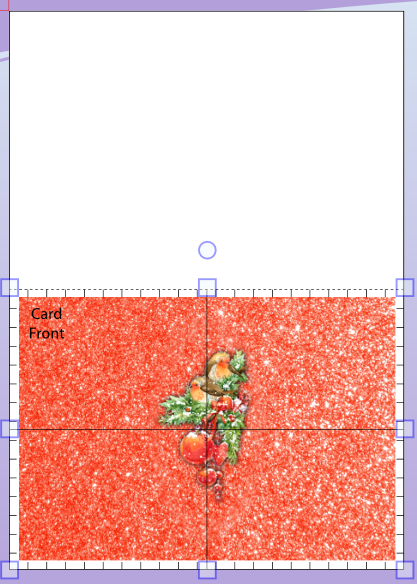
- Open a new page and in the overlays tab choose A5 landscape in the cards tab. Bring on file 01 from the textures folder, and then the oval digital punch. Set the height of the oval punch to 12cm. Line up using the template and choose to keep inner.
-

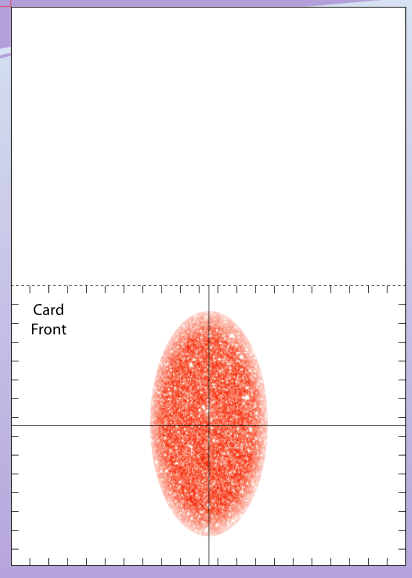
- Remove the digital punch and on the effects tab choose softer edges. Move the slider until you have the desired effect.
-

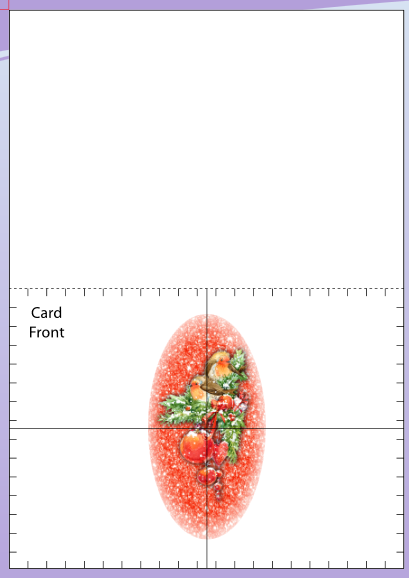
- Bring in image 09 from the image folder and in the effects tab choose drop shadow. Use depth 1 and blur radius 15. Place the image over the punched area.
-

- 4Bring on file 01 from the textures folder again and crop to 20 x 14cm and right click your mouse and choose send to back.
-

- Copy and paste the background again and crop to 19 x 13cm . In the colour boost section slide all the colours to 0 so the paper turns white. Then right click on your mouse and choose send backwards until the white layer is behind the punched area. Make sure everything is lined up and you are ready to print.


Leave a Reply
Want to join the discussion?Feel free to contribute!