
Cherry Blossom Rise Card by Anjie McChesney
Hi Crafters, I wanted to create a simple card using the Cherry Blossom Rise collection alongside nested dies. I’ve shared below the steps used to create this design.
Items needed:
Cherry Blossom Rise collection
Two Red Robins Tag die set
White card +250gsm
Coordinating card stock
Foam tape
3D glue gel
-

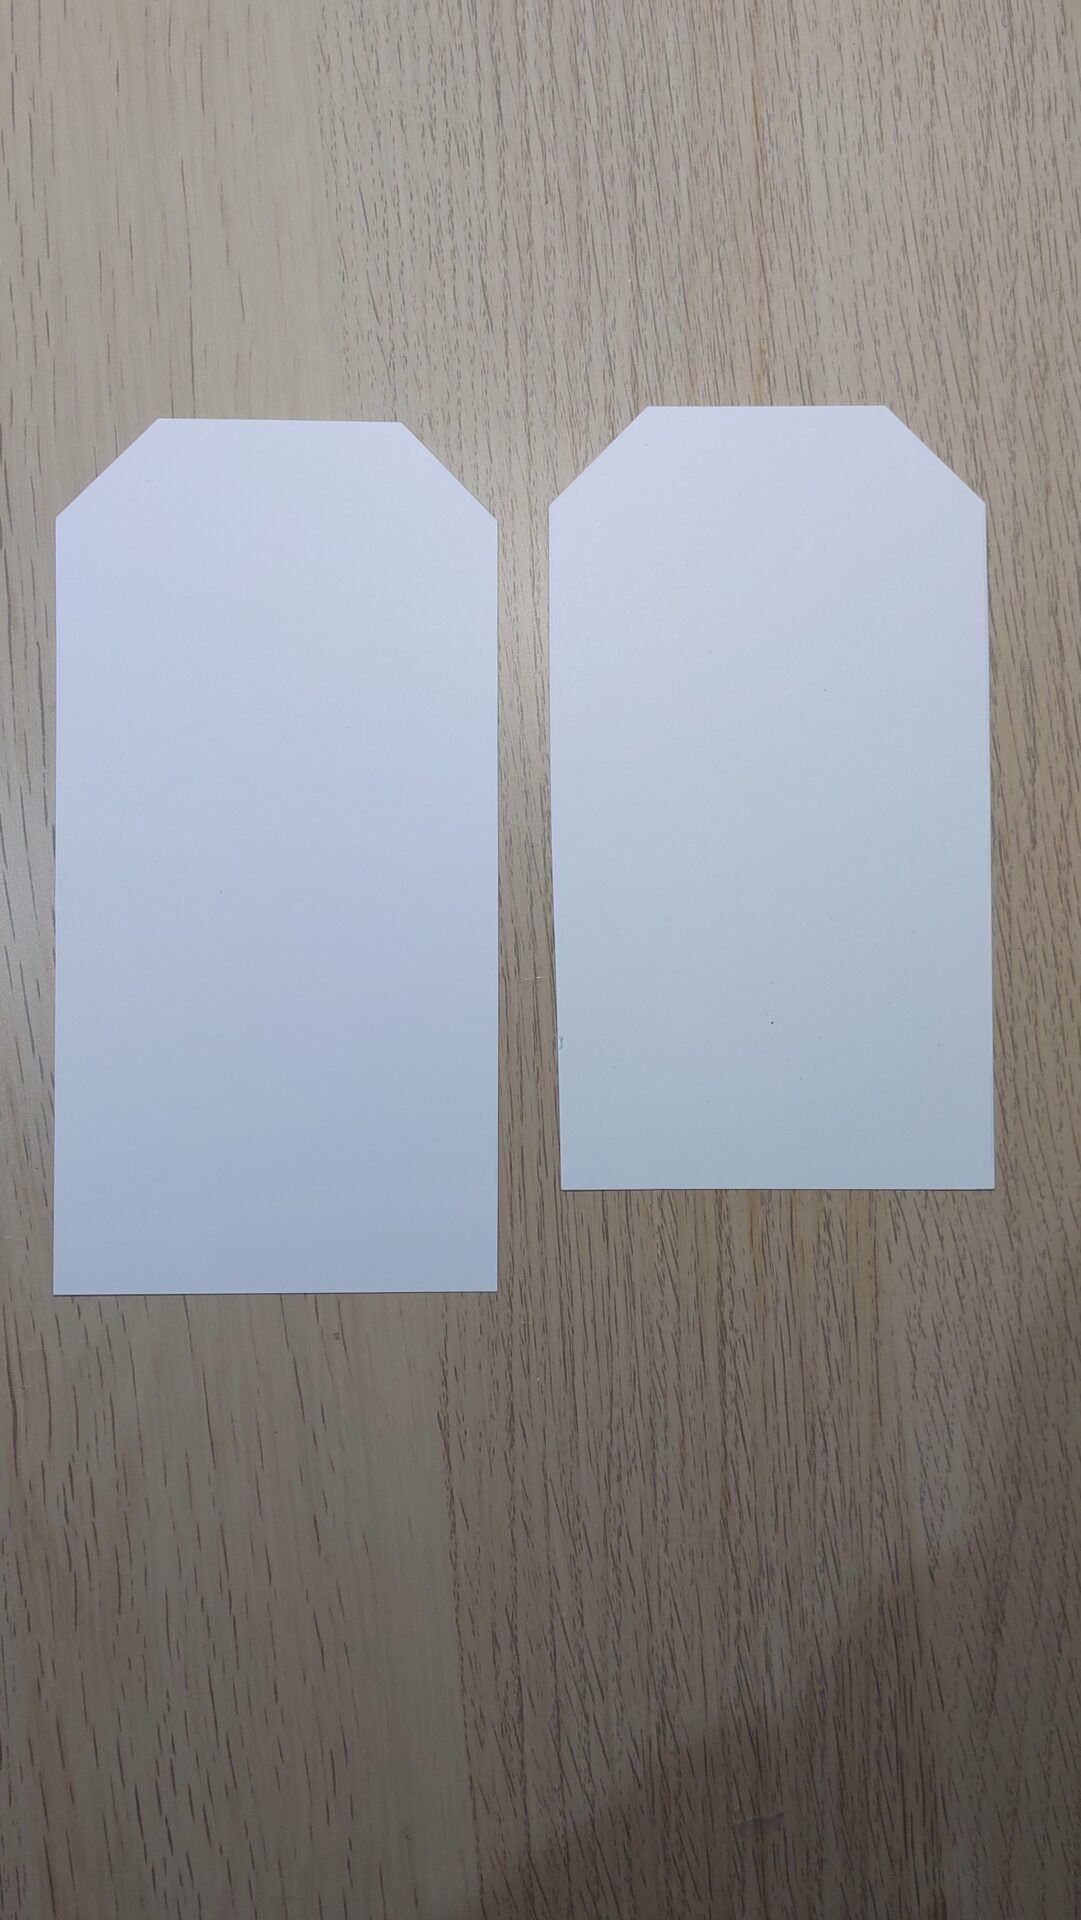
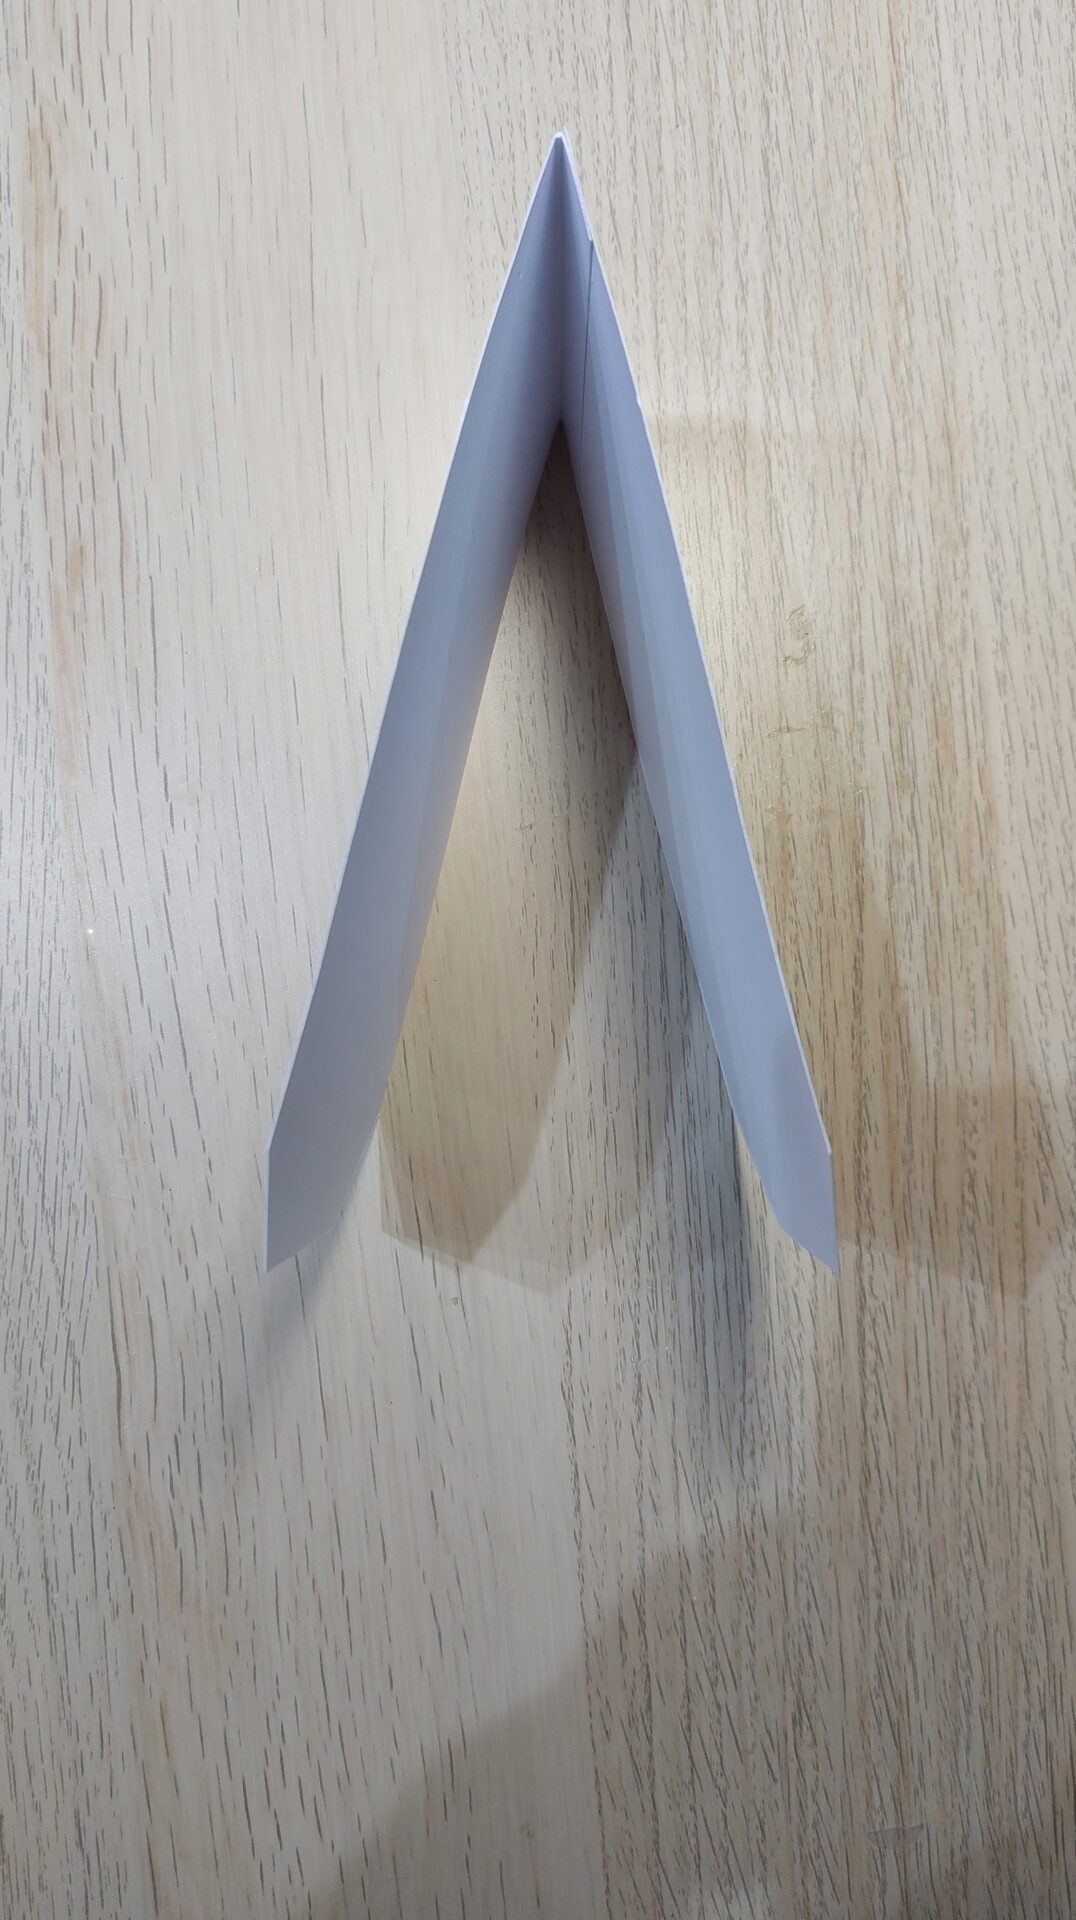
- Step 1, To create the card shape cut one of the large dies in white card, and then cut another but don’t put the plate over the whole die. This then allows you to lengthen the shape to create a fold.
-

- Your die card base die cuts.
-

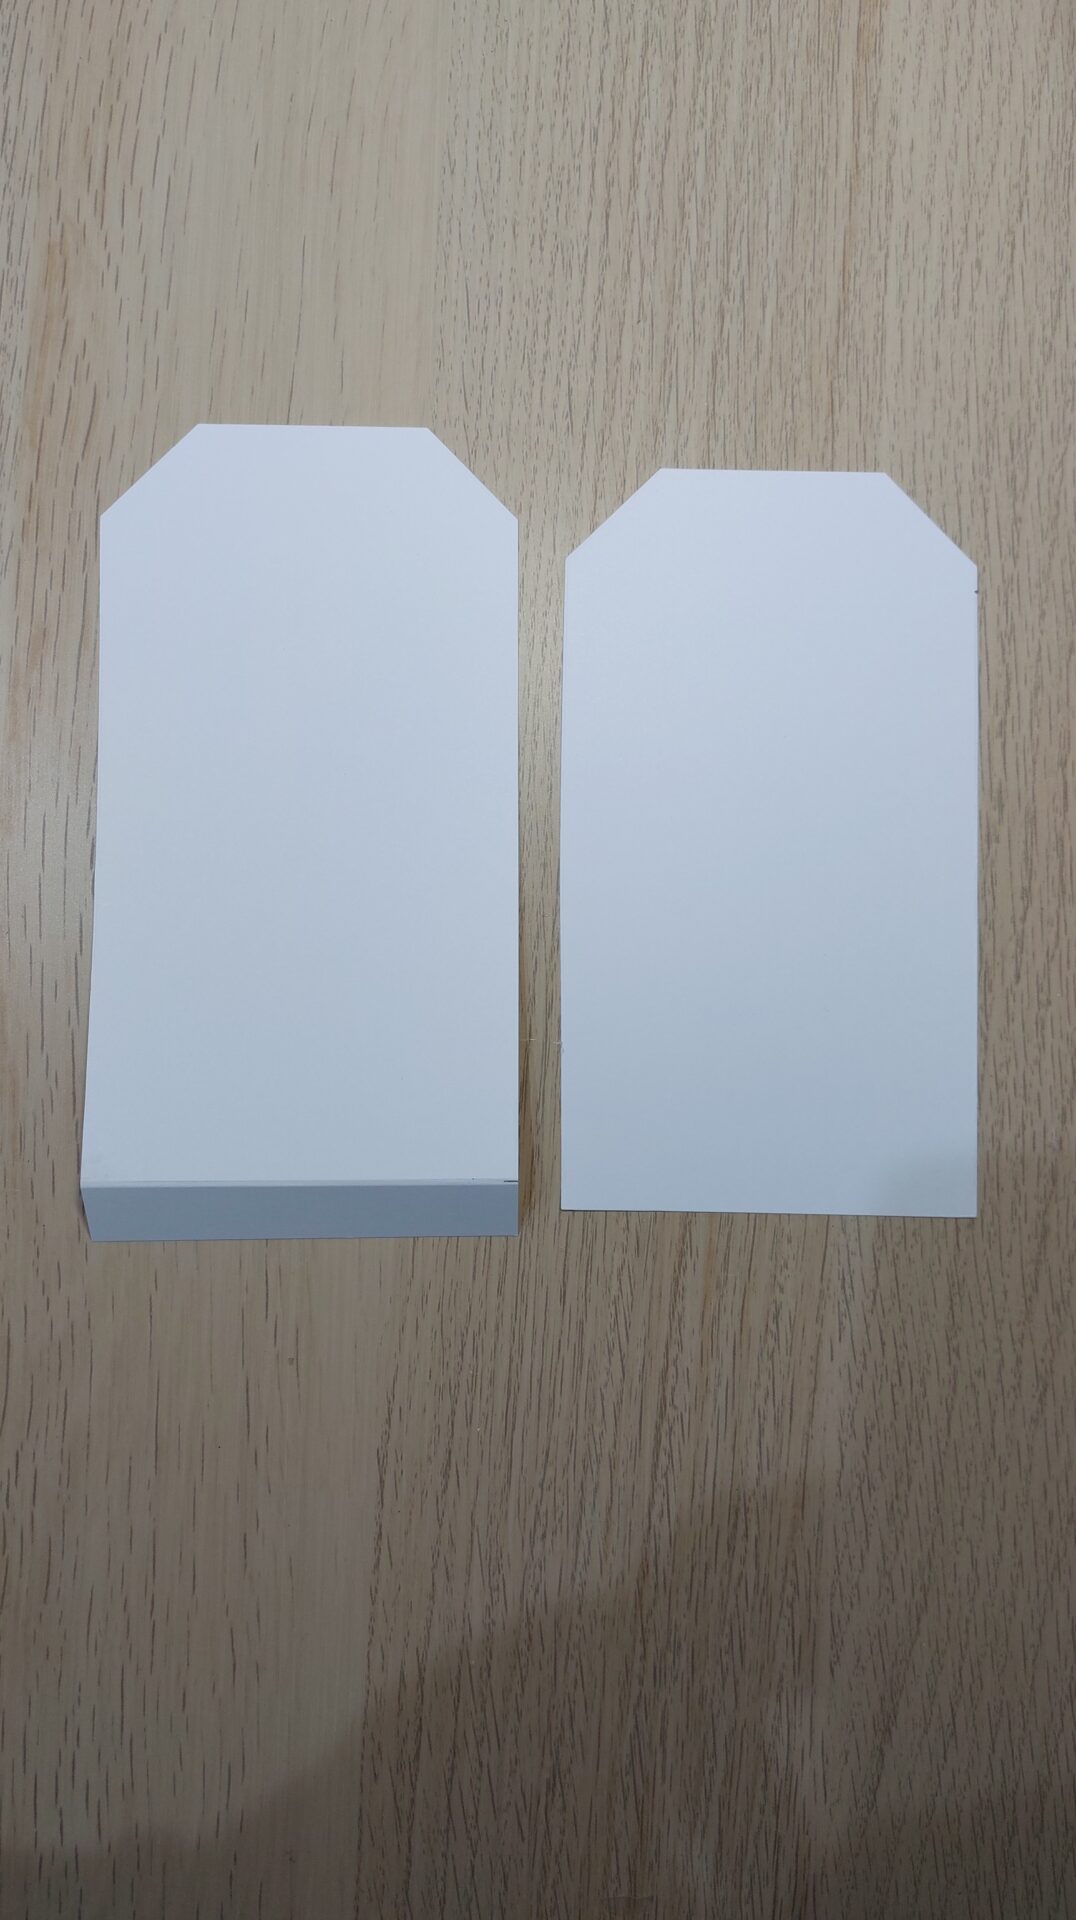
- Step 2, Trim the card away from the side leaving the length. This will give you the longer piece.
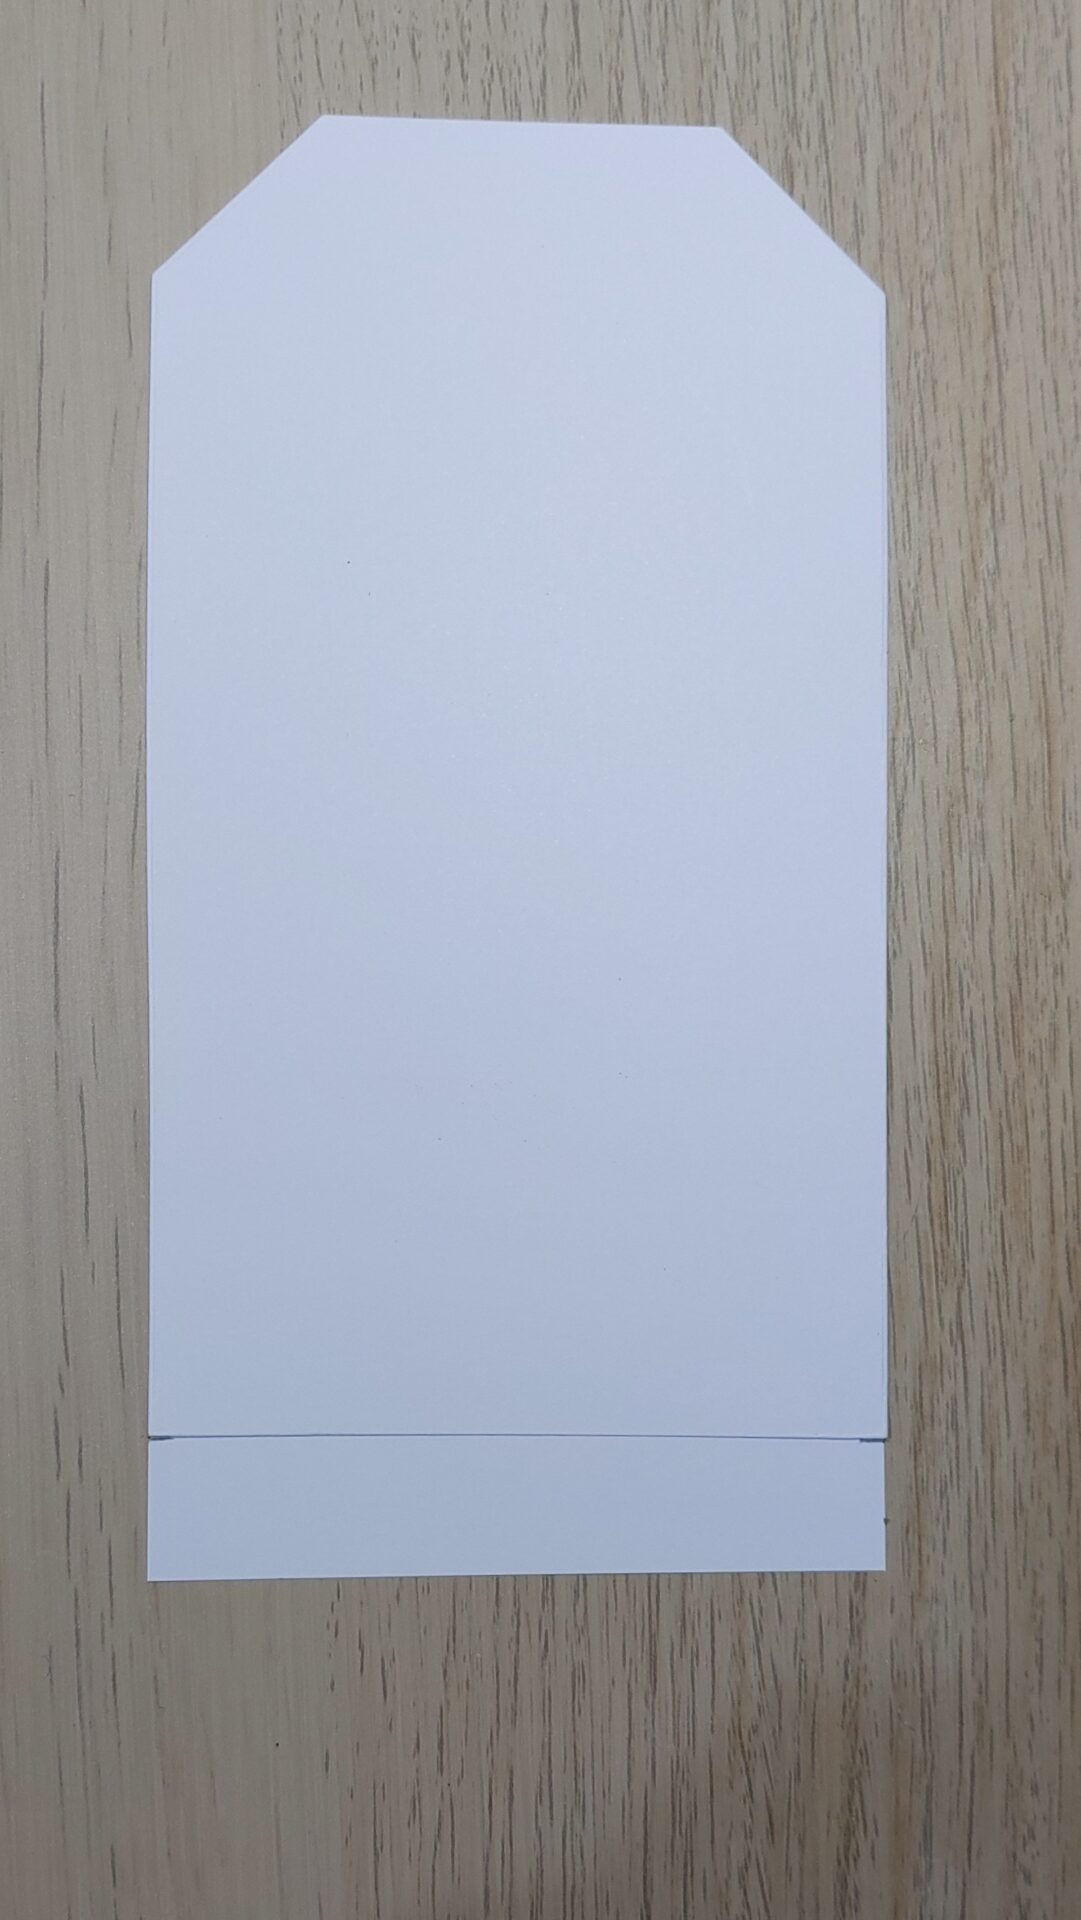
-

- Step 3, Line the cut shapes up and mark where the smaller piece ends. Then score the bigger piece and fold and finally glue to the other piece. This will give you your card shape.
-
- Top view of the card base once constructed.
-

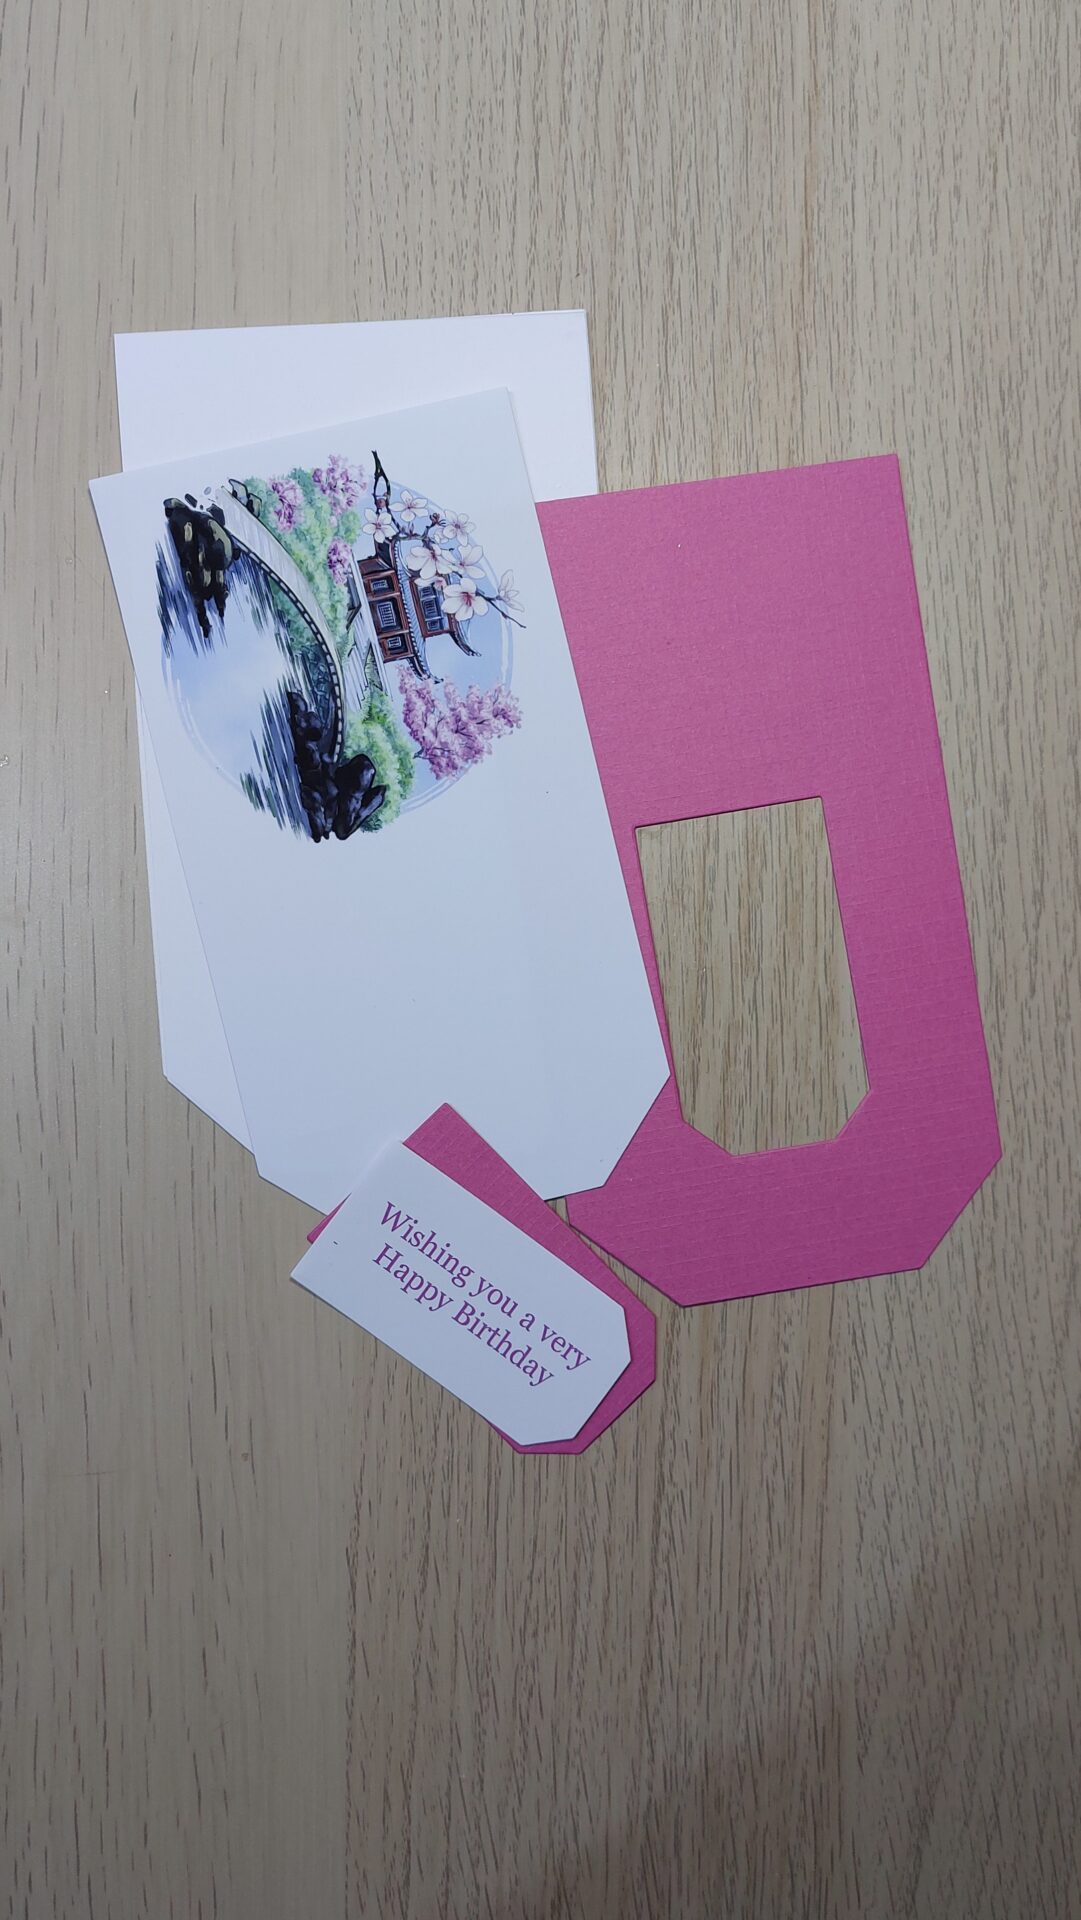
- Step 4, Print out the image of your choice and a sentiment. I used the colour picker to make the sentiment the same colour as the Blossom tree. You can also print out some flowers to create some decoupage you wish. Then cut these all out using the layering dies. I cut the mat layer for the sentiment out of the bottom layer to save on card stock.
-
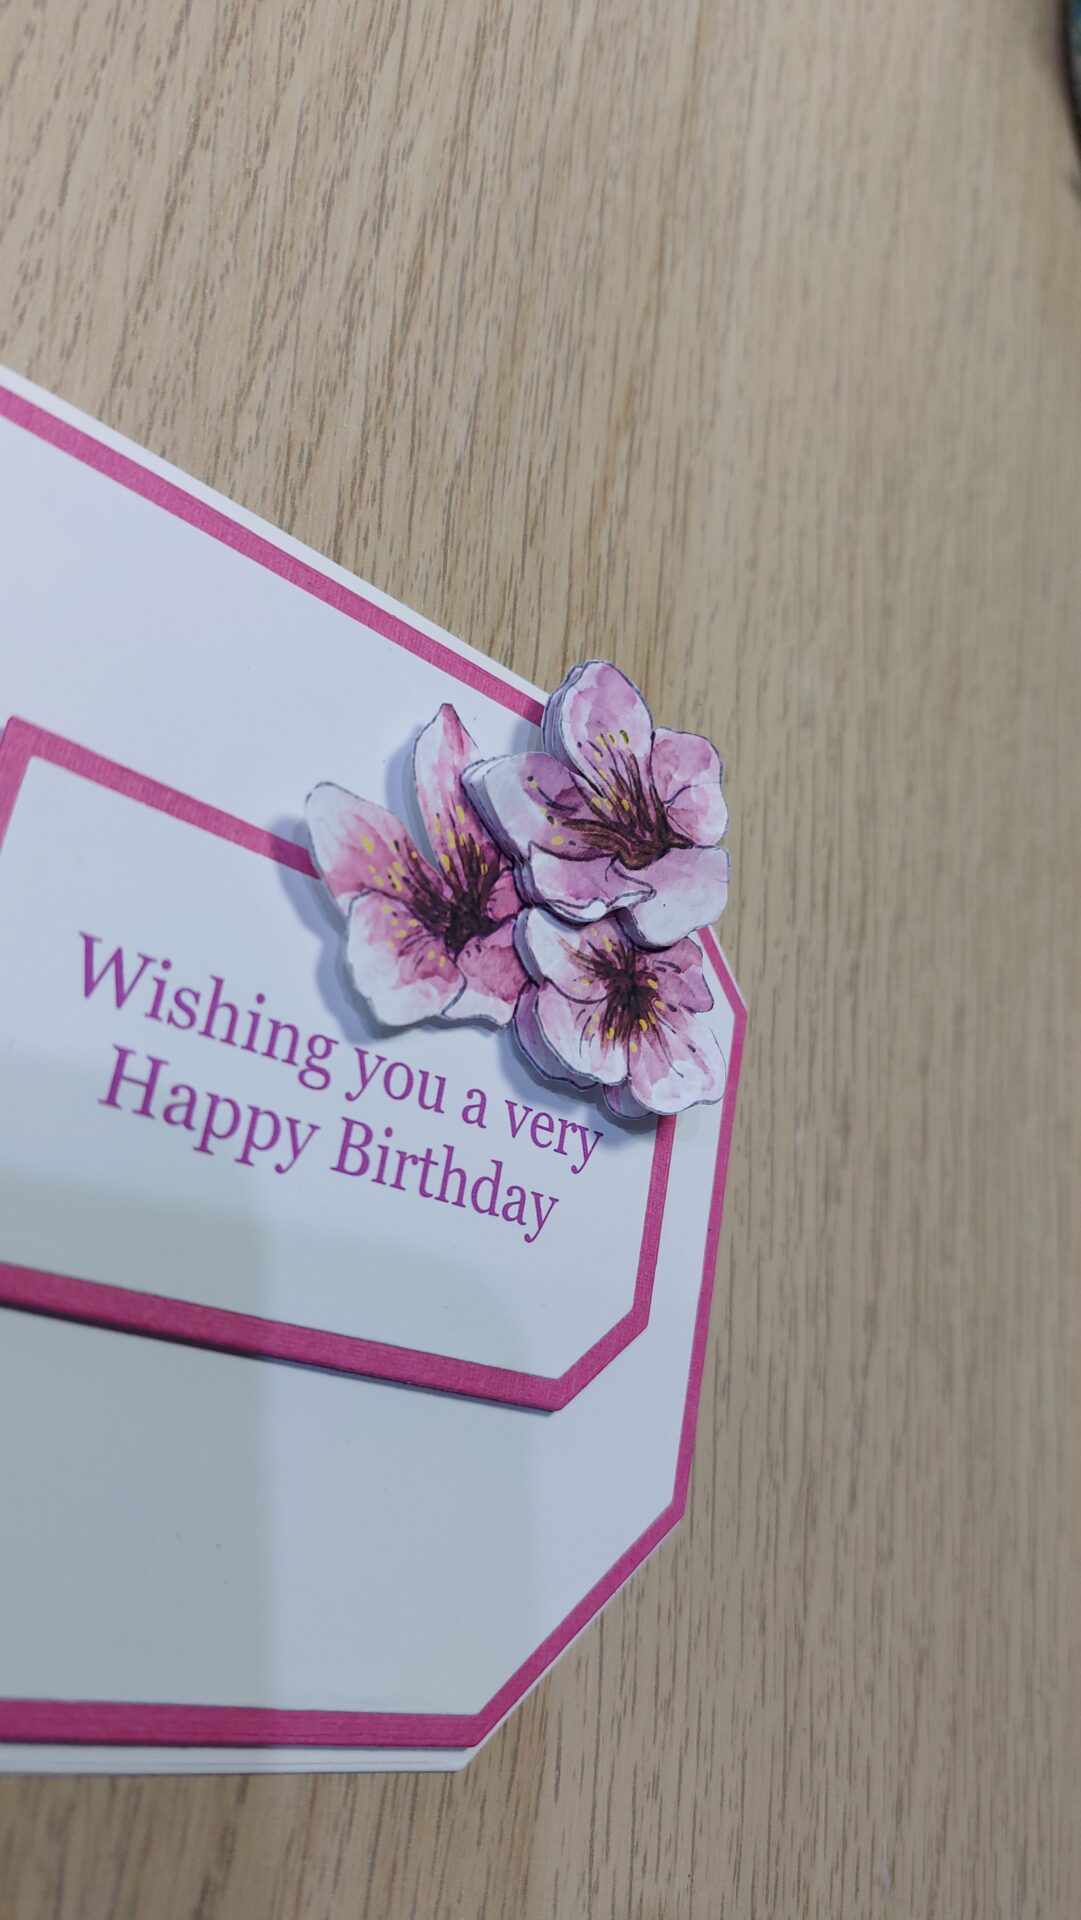
- Step 5, Glue all the layers together and mount up using foam tape to give you some dimension. Then add the flowers decoupage up if you wish.

-
- Close up of the decoupage flowers.


I love all things oriental in crafting and this is a beautiful card. Cherry blossom rise is going on my list.