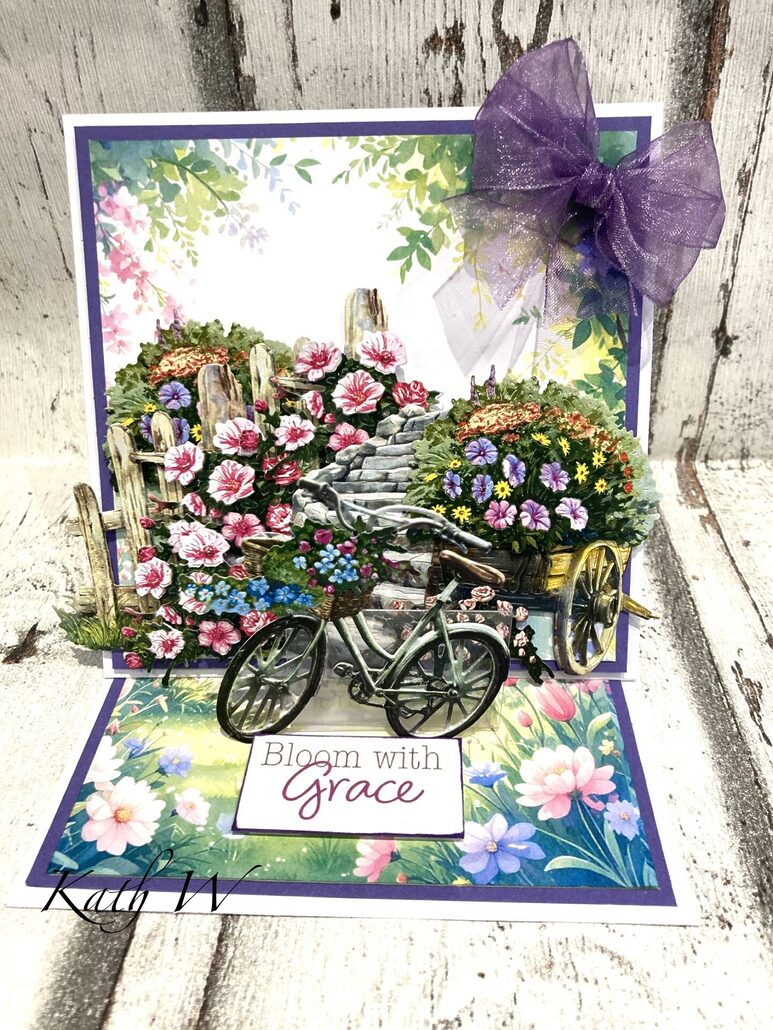
Bloomin’ Lovely Easel Card by Kath W
You will need:
- Two Red Robins Bloomin’ Lovely collection
- Scene 018 from Two Red Robins The Blooms & The Bees
- 2 x A4 white card stock
- Purple card stock
- Construction acetate
- Glue / double-sided tape
- 3D Glue gel
- Foam pads
- Scoreboard
- Scissors / guillotine
- Purple bow
- Sentiment
Step 1 Print and die-cut the reflections needed along with the scenes.
-

- Step 2 Cut A4 card stock to 11 x 5.5” Score and fold in half, score again on one side at 2.5”. Add double-sided tape to the folded half. Cut another piece of card measuring 5.5” x 5.5”.

-
- Step 3 Remove the tape from the card base and attach this piece to create the easel card.

-
- Step 4 Cut the mats & layers as follows. From the purple card stock cut 2 x 5.25“ x 5.25“. From the scenes cut 2 at 5“ x 5“. Glue the mats & layers to the card, starting with the purple, followed by the scenes on top. (use foam pads on the top section of the card).

-
- Step 5 Decorate the card using the die-cuts from The Bloom & The Bees artwork, attach with 3D glue gel. See photo for reference.

-
- Step 6 Cut a piece of construction acetate into an L shape, add the bicycle to the front using strong tape, then add tape to the bottom, and stick to card front. This is the stopper.

-
- Add a bow and sentiment and your card is complete!

Happy crafting from Kath 😊


Leave a Reply
Want to join the discussion?Feel free to contribute!