

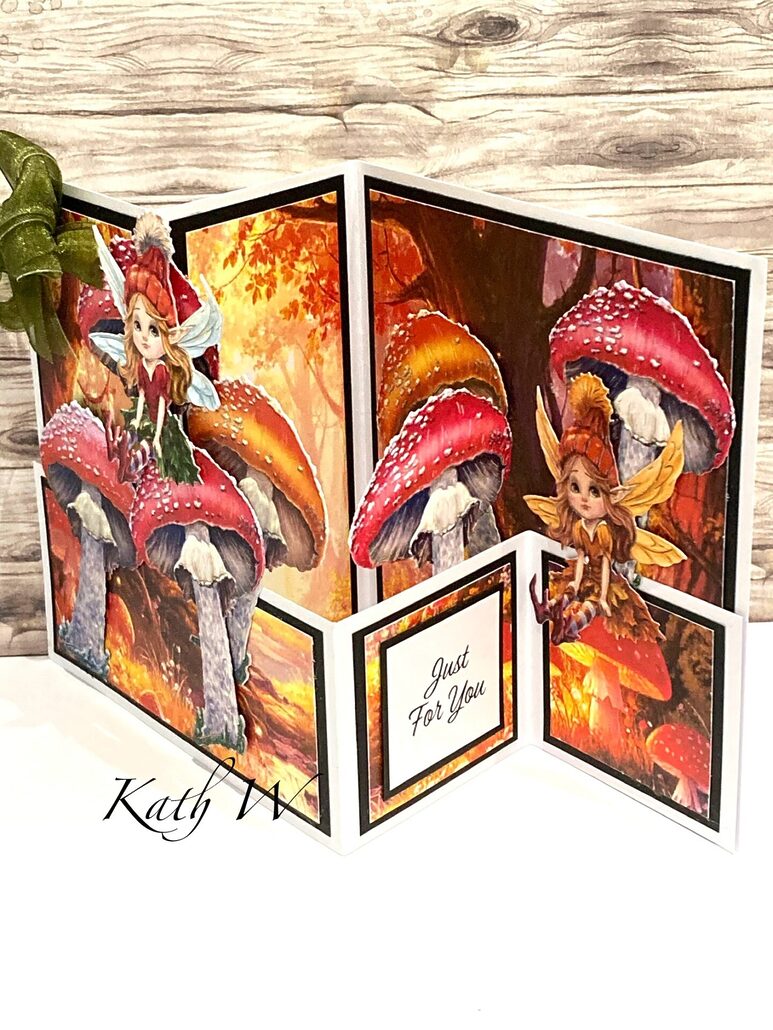

Z-Fold Card Using In The Studio Toadstool Twinkles Collection by Kath W
You will need:
- ITS Toadstool Twinkles Die & Artwork collection (scene 16)
- Craft Master 250GSM pure print
- Black A4 card stock
- White A4 card stock
- Glue / tape / etc
- Scissors / guillotine
- Green bow
- Sentiment
-
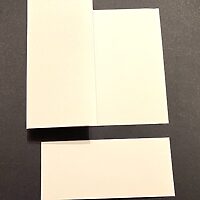
- Step 1 Print the artwork needed onto 250GSM Pure Print, die-cut the reflections. Step 2 Fold A4 white card in the centre to make an A5 card, fold the front of the card in half again onto itself. Cut 2.5” off along the bottom.
-
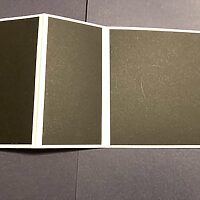
- Step 3 Valley fold the right-hand side of the cut-off piece in the centre, this is the folding bar piece. Step 4 Cut all mat and layers as follows. Cut black card: 1 at 5.5 x 5.5”, 2 at 2.5” x 5.5” (bar piece), 1 at 2 1/4 x 5.5” (bar piece), 2 at 2 1/4” x 2.5”. Cut scene as follows: 1 at 5 1/4” x 5 1/4”, 2 at 2 1/4” x 5 1/4” (bar piece), 1 at 2” x 5 1/4” (bar piece), 2 at 2” x 2 1/4”.
-
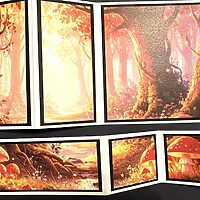
- Step 5 Glue layers onto the card base and bar using glue or finger lift tape.
-

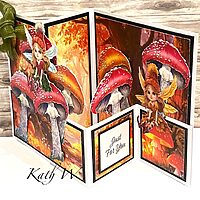
- Step 6 Add glue to right side of bar piece, attach to the bottom right-hand corner. Close the card and glue the other end to the folded part (be careful to only glue the part that is attached to the fold).
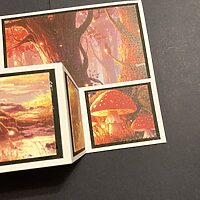
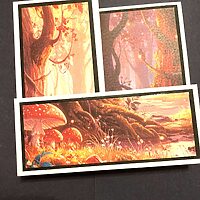
-
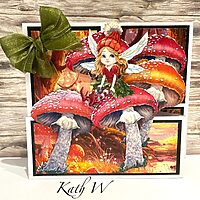
- Step 7 Add toadstools and fairies to the front of the card first, then to the back of the middle of the folded bar, (do this so when you close the card again you cannot see any white part of the reflection).
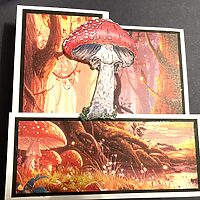
-
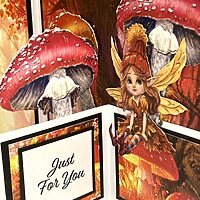
- Step 8 Add another toadstool to the end followed by another fairy.
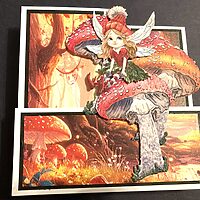
-
- Step 9 Add a green bow and sentiment.
-
- Your card is finished!


Leave a Reply
Want to join the discussion?Feel free to contribute!