

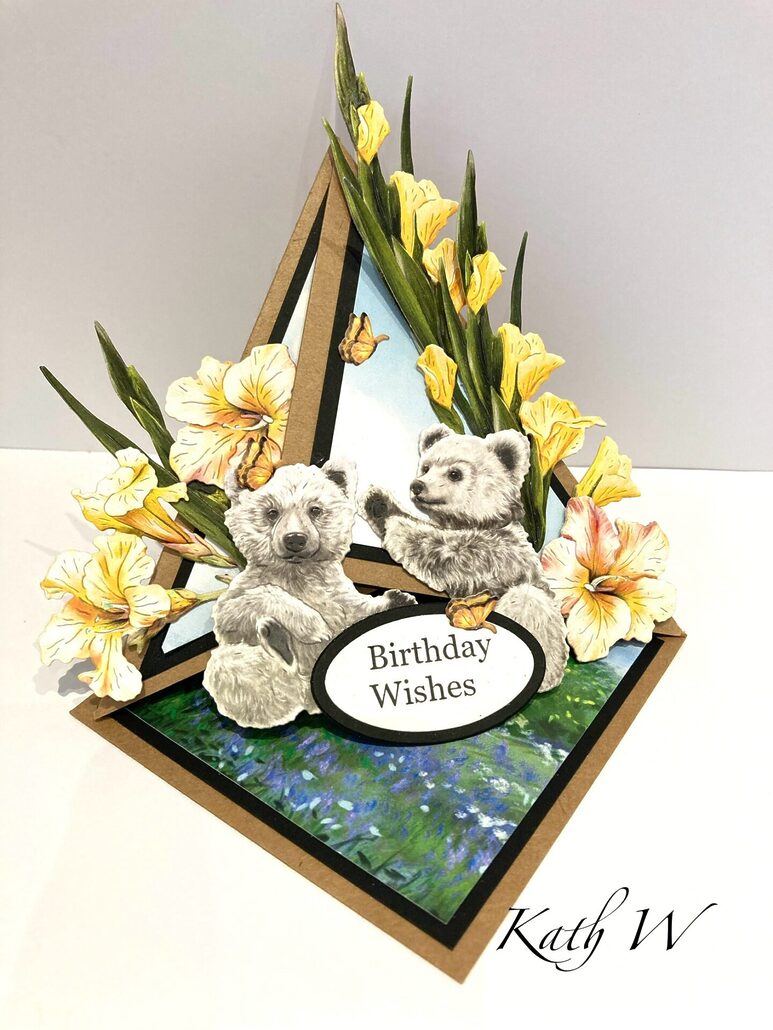

When is a Triangle Pop Up not a Triangle Pop Up?
Hi crafters I love the craft master shaped card stencils they are so easy to use to make dimensional cards…you can also tweak them to create different shapes …
You will need
A4 kraft card
A4 black card
A scene of your choice
Kit N Caboodle 5 in 1 Trimmer
Glue
TRR F.O.T.M Gladioli dies
Honey and smoky from TRR family favourites volume 3
Sentiment of your choice
Craft magnets, scissors, pencil, rubber
-
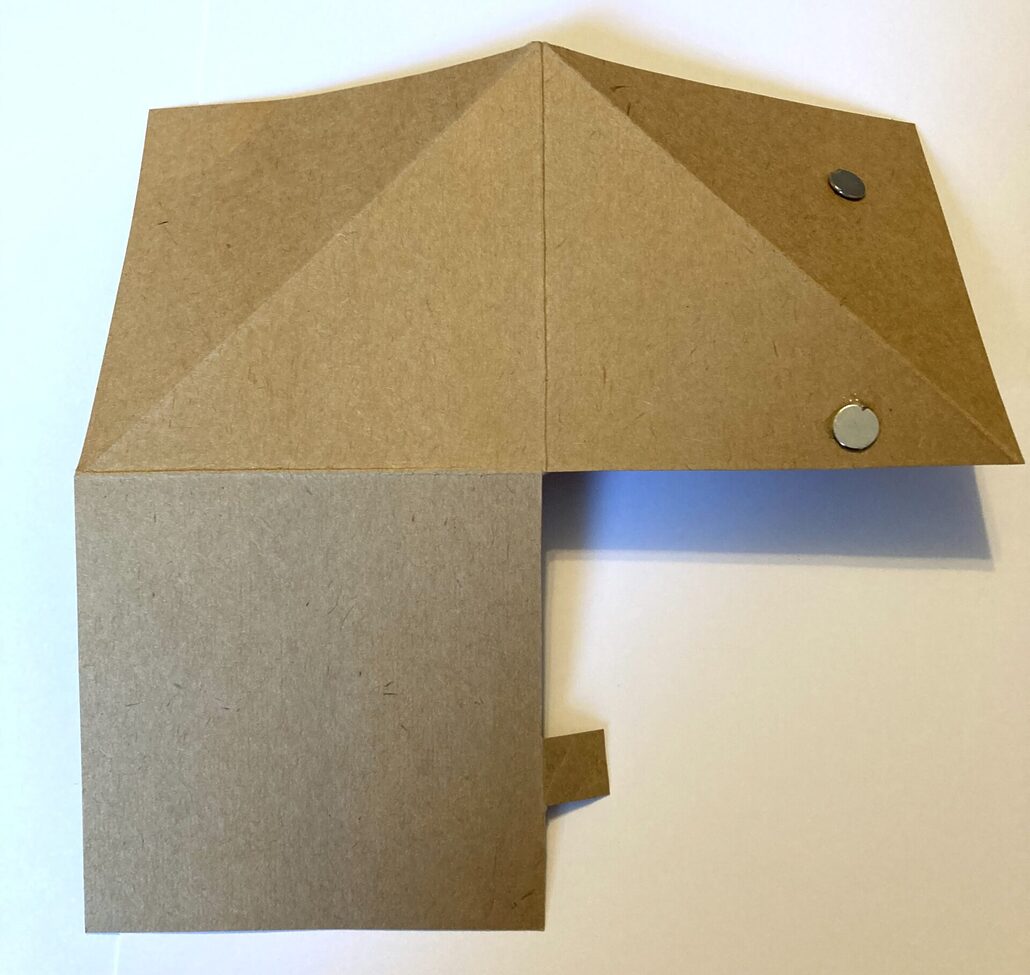
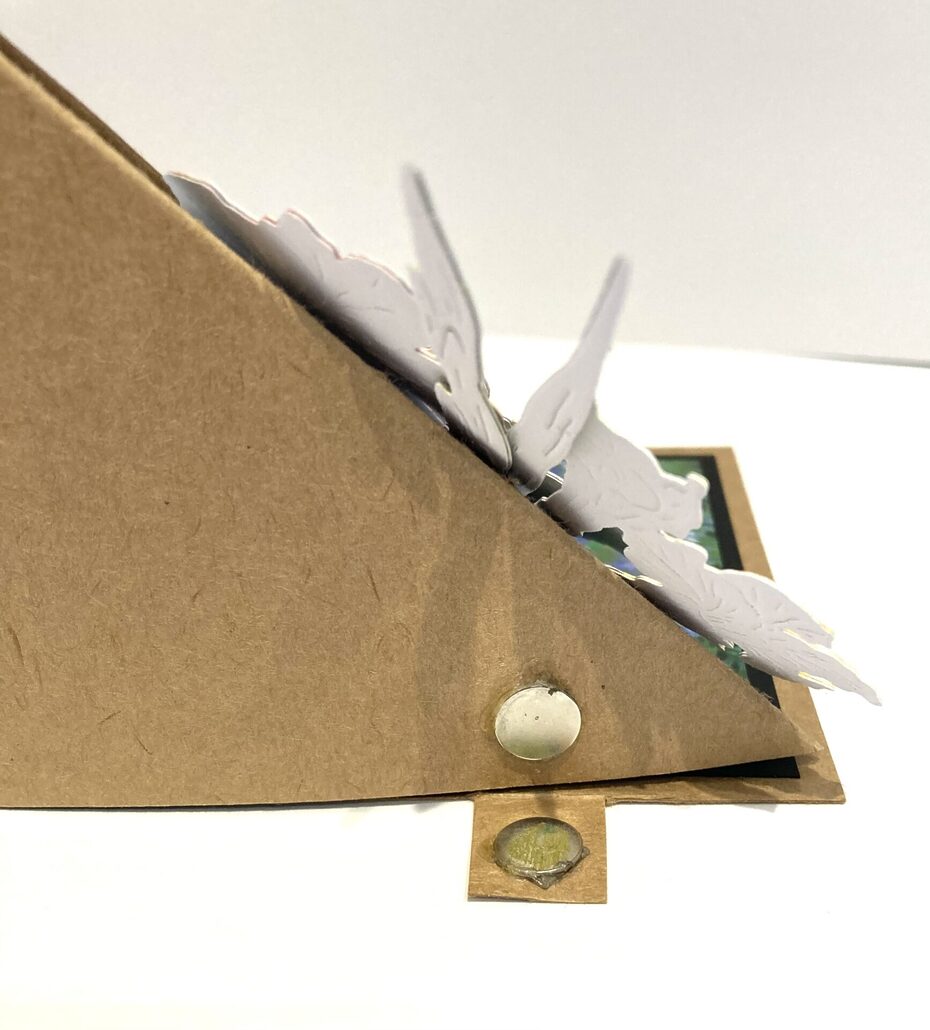
- Place the stencil over kraft card stock mark with a pencil all the cut and score lines as directed. Cut away the bottom left hand square leaving a small tab attached to the card for the magnet to be fixed. You can just glue an extra piece of card on if you wanted to but I just cut around before I cut the square away. Glue a craft magnet to the tab glue the other to the side of the card (when in upright position) add magnets to the triangle flaps( see photos for placement)
-
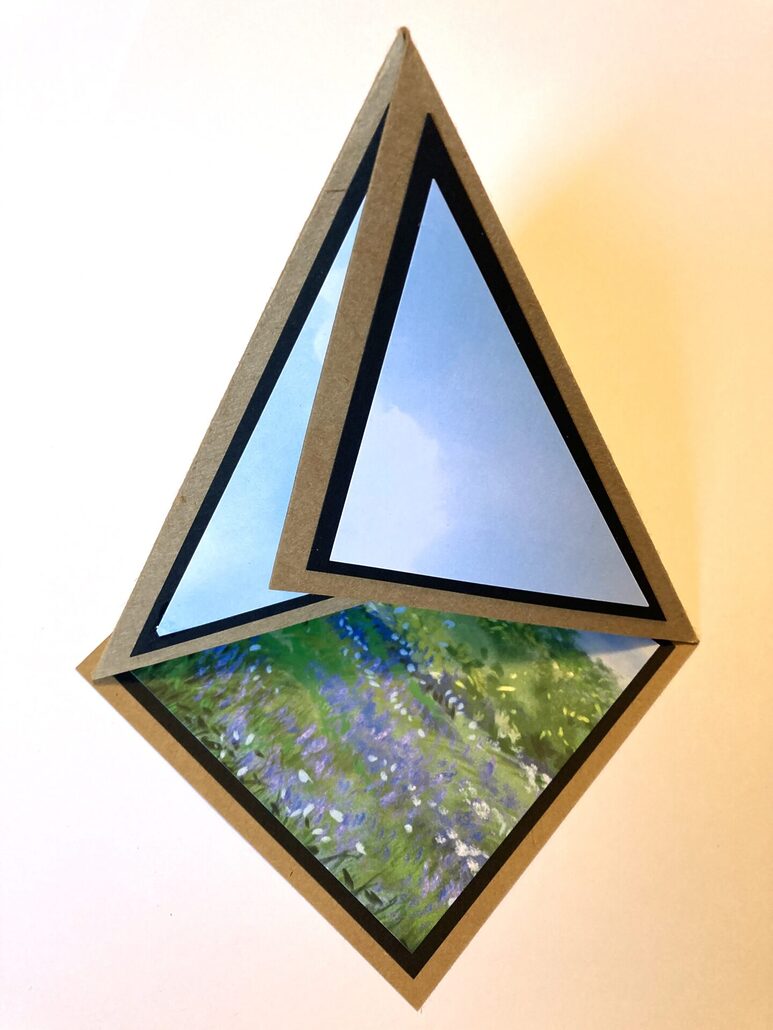
- score and fold the triangle flaps in on themselves and the base of the card will fold upwards when scored. Cut 2 squares 1 x 3.5” x from black card (cut in half to make two triangles) and 1 x 3.3/4” for base of card. Repeat the above step for patterned layer this time cut 1 x 3” (cut in half to make 2 triangles ) cut 1 x 3.5” for base. Glue all Matt and layers onto the card keeping them flat do not add dimension to this part of the card
-
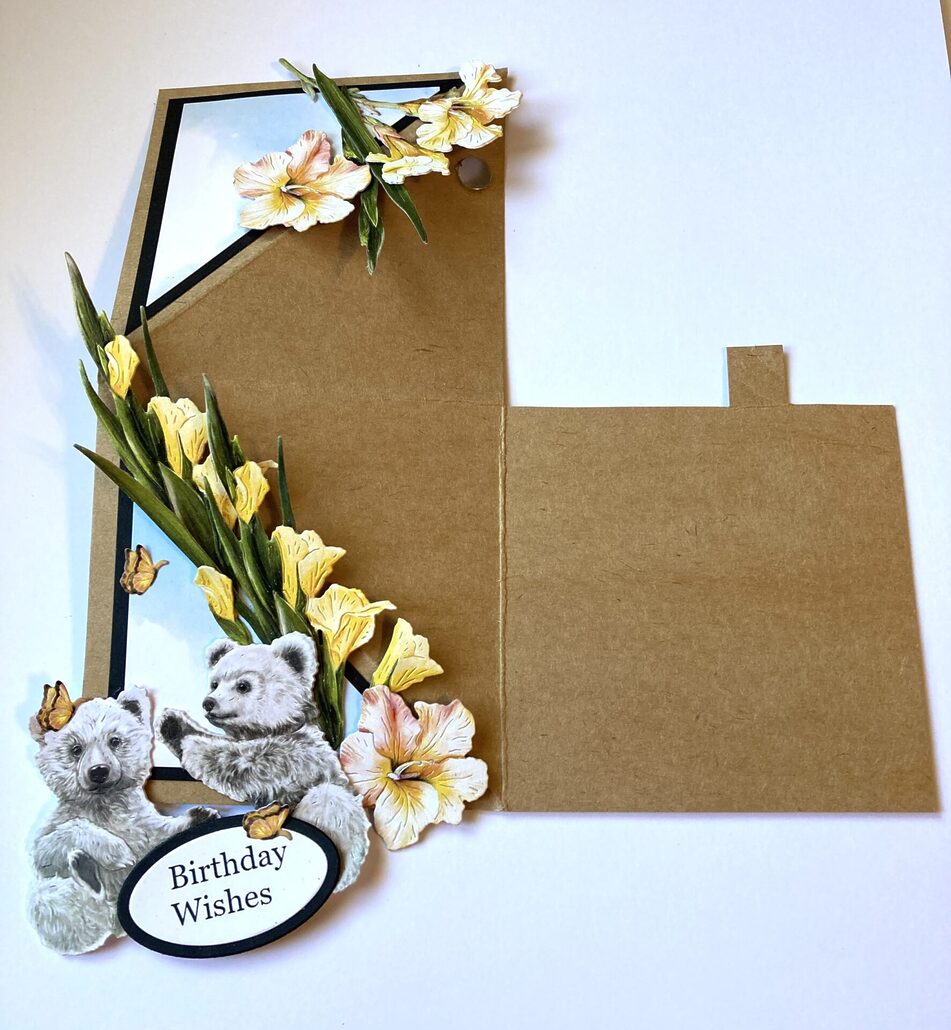
- Now you can decorate your card! I used the cute little bears and gladioli from Two Red Robins
-

- Here’s how the magnet sits once the card is complete!
-

- Attach a sentiment to the base and your card is now complete
I hope you enjoyed this tutorial, you can use any of your collections you already have to decorate just make sure when attaching your die cuts you do not glue them where the card open and closes. I’d love to see your interpretation of this!
crafty hugs from Kath W 😊


Leave a Reply
Want to join the discussion?Feel free to contribute!