Wax Seal Kit with Hot Glue & More with Kath
Hello crafters I recently treated my self to a wax seal kit and have had a lovely time playing with different ways to use it …
As well as using the traditional wax in the kit did you know that you can use hot glue sticks and your glue gun or burner in the same way! If you use clear glue sticks you can use it on all your favourite papers this way everything on you project will match perfectly as you will see the paper through the seal. Let’s have a go!
-
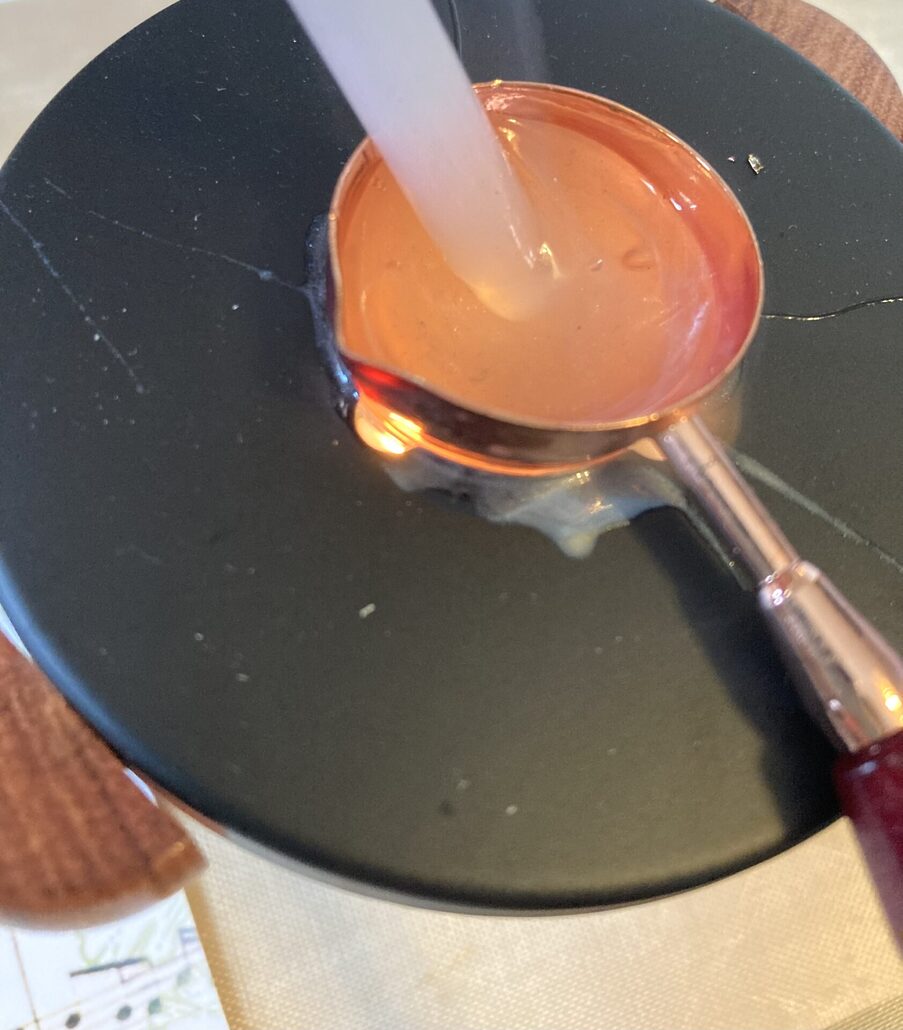
- Heat the hot glue in glue gun or you can use the candle and equipment that comes in the wax seal kit or a heat gun works well, you will need to wipe any glue from the pourer spoon before melting wax again just use a paper towel but be careful as the glue and pourer will still be hot
-
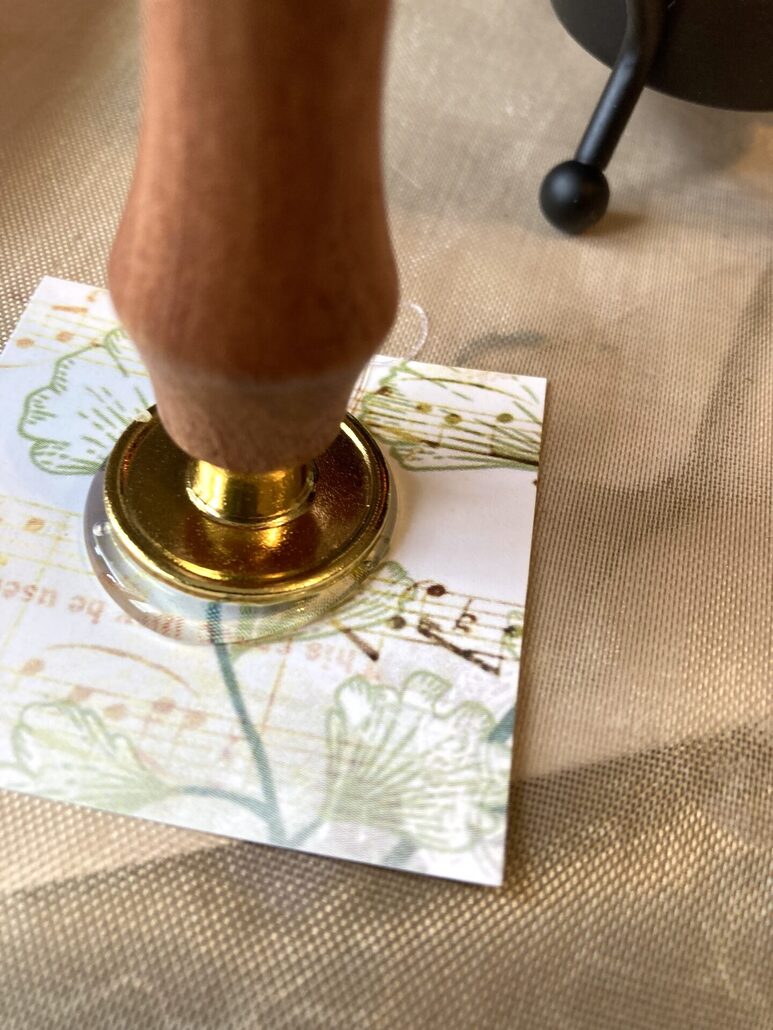
- Choose the papers that you would like to make the seals from patterned or plain cut into approximately 2” squares. Choose your metal stamp designs and using a heat proof craft mat place your squares of paper on top then when the glue has melted tip a small amount of glue one square at a time and press the metal design into the hot glue leave to set for a minute or two
-
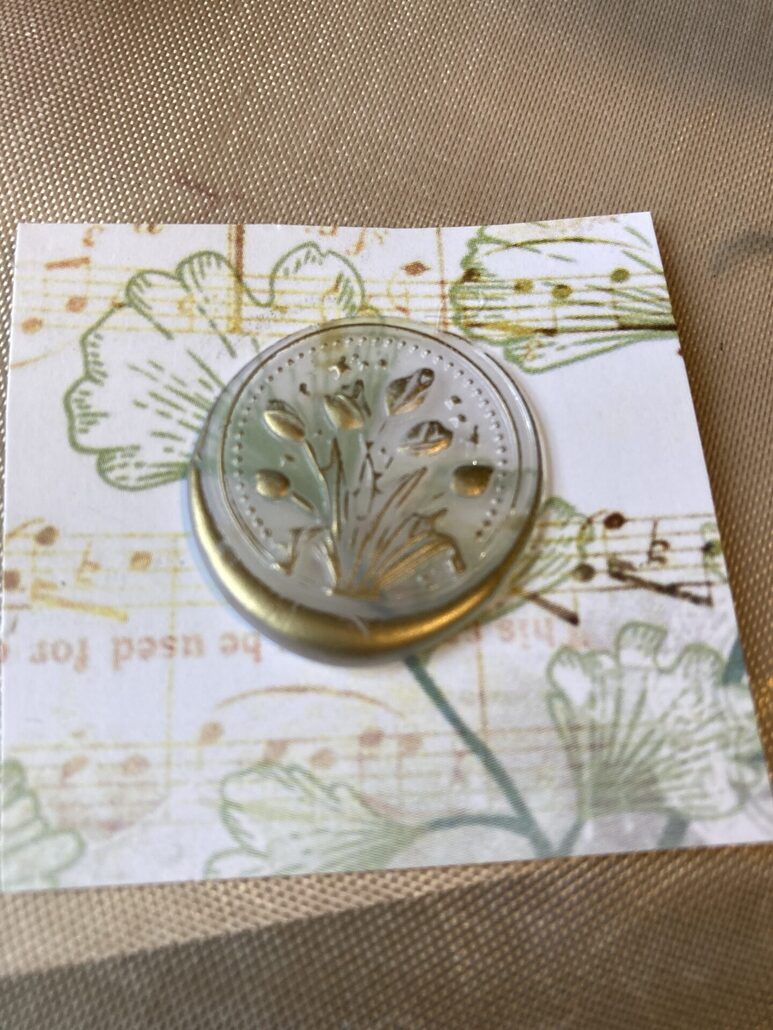
- When the seal has cooled gently pull the design away and you are left with the seal stuck on the squares of paper, trim the excess paper from around the seal
-

- rub a small amount of gilding wax or marker pen over the designs and there you have a beautiful seal that will match perfectly with you project! Attach to your project with another small amount of hot glue or strong adhesive.
don’t forget you can add flowers beads small embellishments gilding flakes etc – give it a go and let us know how you get on!
Have fun with this one, crafty hugs from Kath W 😊


Hadn’t thought of using glue. It’s now on my ” have a try” list I’m compiling. Thank you for the idea.
You very welcome 😊