

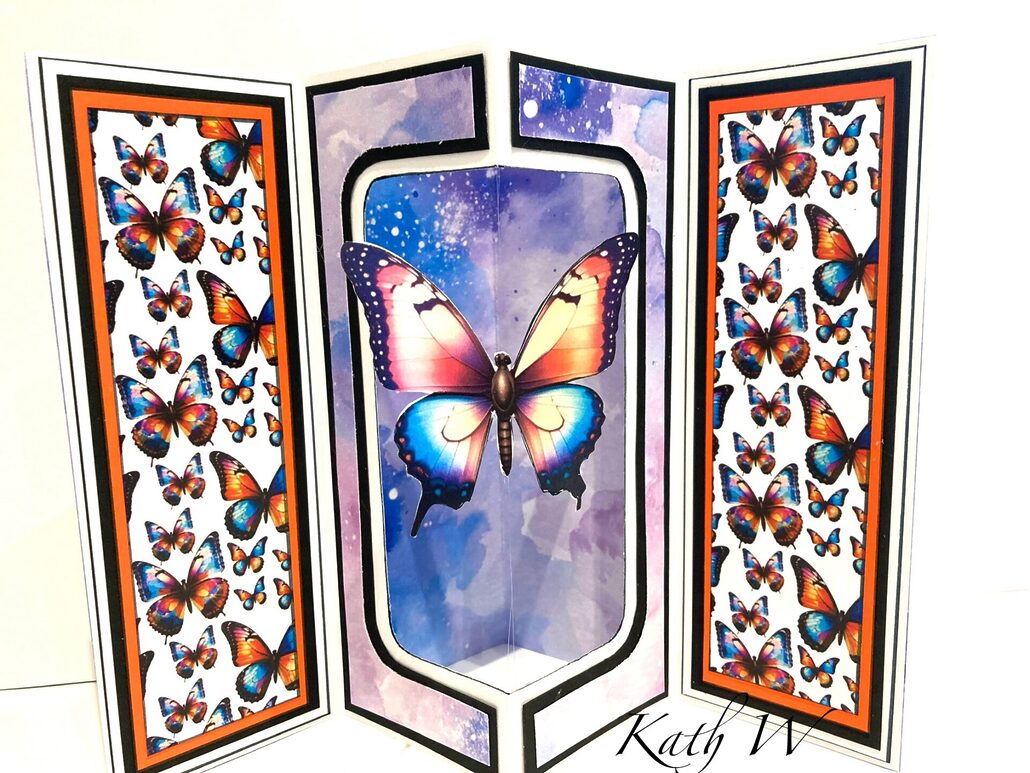

Spinning Butterfly Card Using Kaleidoscope Dreams Artwork by Kath W
You will need:
- Kaleidoscope Dreams Artwork (Overlay 02, Topper 01, Butterfly image 01)
- Purple patterned card (I used 01 from A Little Bit Of Sparkle artwork)
- A4 white card stock
- Orange card stock
- Black card stock
- Clear sewing thread or fishing line
- Craft Master Star Card template
- 3D glue / foam pads / wet glue
- Scissors
- Guillotine
-

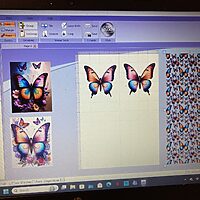
- Step 1 Using MyCraftStudio, take one of the butterfly images from Kaleidoscope Dreams artwork, resize to 3”, copy, paste and flip the image diagonally. Print onto 140GSM Pure Print paper.
-
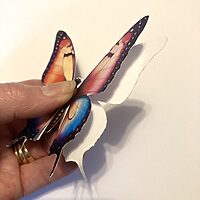
- Step 2 Cut around the images, match them back to back as closely as possible, you can use a black marker pen to hide any white edges when they are stuck together.
-
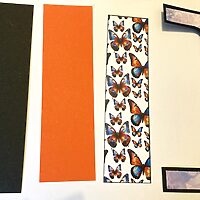
- Step 3 Print onto 250GSM Pure Print (the purple pattern).
-
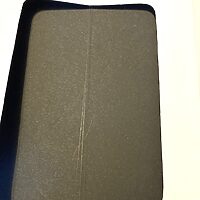
- Step 4 Cut out the card shape as shown in the instructions for the Craft Master Star Card (you only need to make one) the instructions are available to download when you purchase any of the Craft Master card shape templates.
-
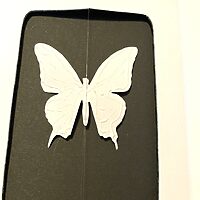
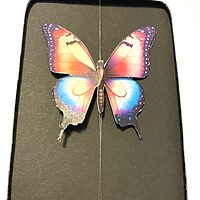
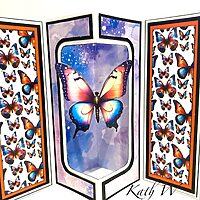
- Step 5 Cut a piece of clear thread or fishing line, and attach to the back centre of the aperture with sticky tape. Add wet glue to one of the butterflies, hold in the centre of the thread, and attach the other butterfly on-top, sandwiching them both between the thread.
-
- The butterfly should now spin around!
-
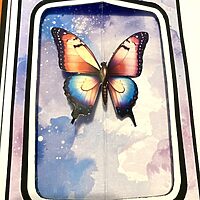
- Step 6 Cut out the mat and layers using the templates, from the card and patterned paper, see photo for reference. Glue in place. Glue either side of the inner part of the card, making sure it closes.
-
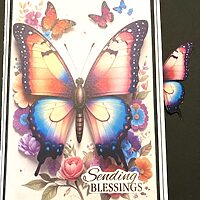
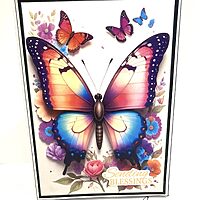
- Step 7 Resize the topper to fit the front of the card, mat onto black and white layers, and add a sentiment.
-
- Your card is finished!
I hope you enjoyed this tutorial, we would love to see all of your makes in our Facebook groups! Crafty hugs from Katherine W.


Leave a Reply
Want to join the discussion?Feel free to contribute!