


Fairy Dreams Card Making Project
Hello crafters I’m back with another tutorial for you using the beautiful In The Studio A little bit of sparkle collection which features beautiful fairies for children of all ages – even those grown up ones!
For this card you will need:
In The Studio A little bit of sparkle collection
In The Studio Grand window die
Glue / glue gel/ foam pads
Scene (mine is from Quirky birds carefree fairy download)
White card stock
Scissors
-

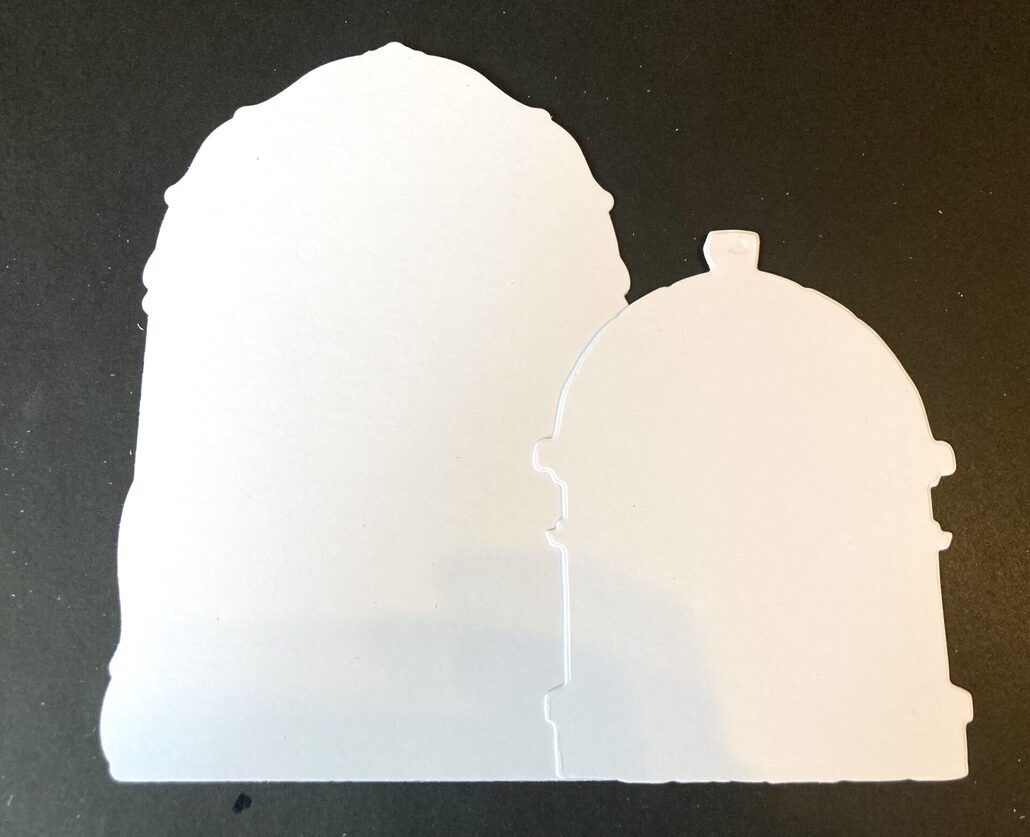
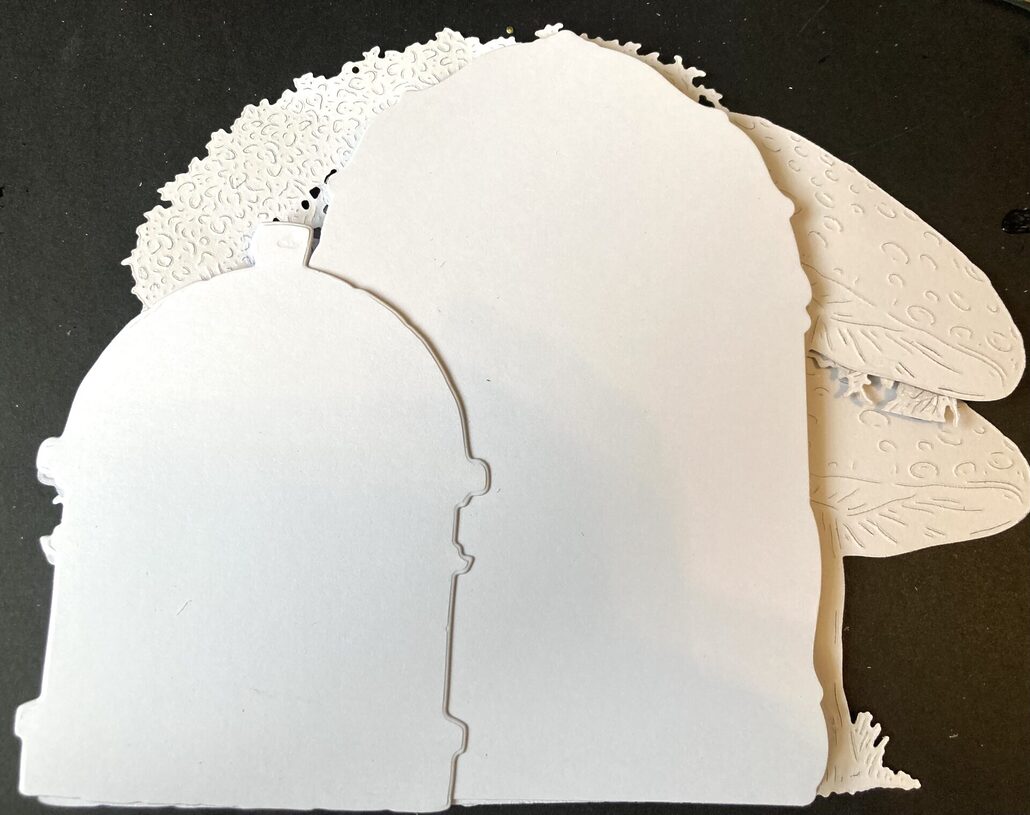
- Step 1 Die cut all the reflection pieces out that you will need to make the card with coordinating dies …for the scene part I used the Grand window die from In The Studio Exquisite Elements but you can use any similar shaped die that you have in your stash (see photograph ). Cut from white card the fairy door and the scene shape ,glue together side by side.
-

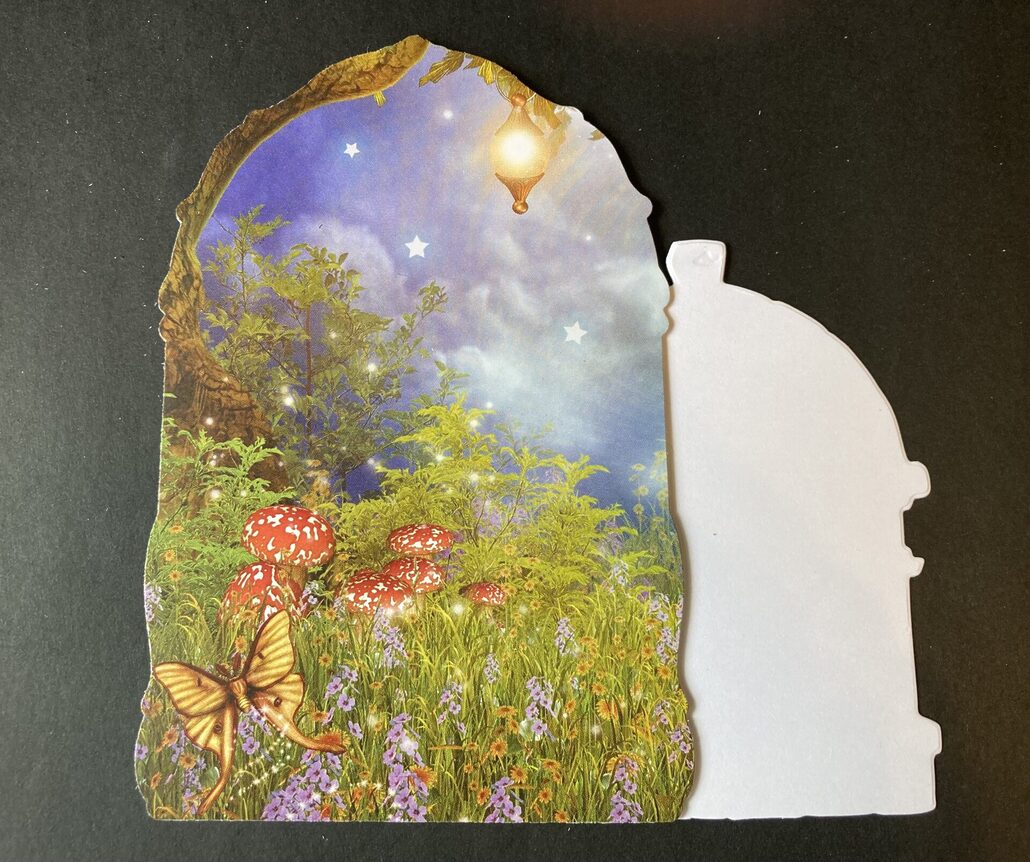
- Step 2 Glue the scene flat on top of card shape
-

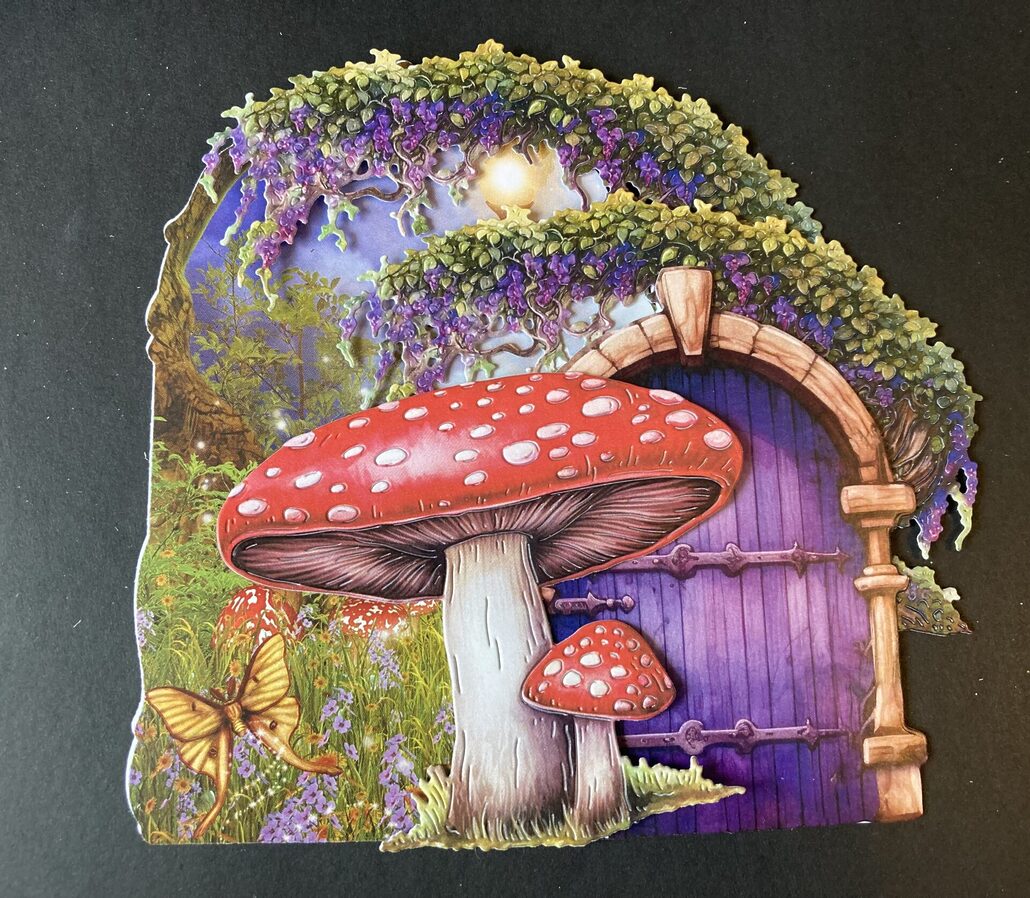
- Step 3 Add glue gel to the fairy door and attach to card add glue gel to one of the mushrooms and attach to centre. Add glue to the bottom of one of the trees attach to the back of the card so that the front flowers cascade over the scene.
-

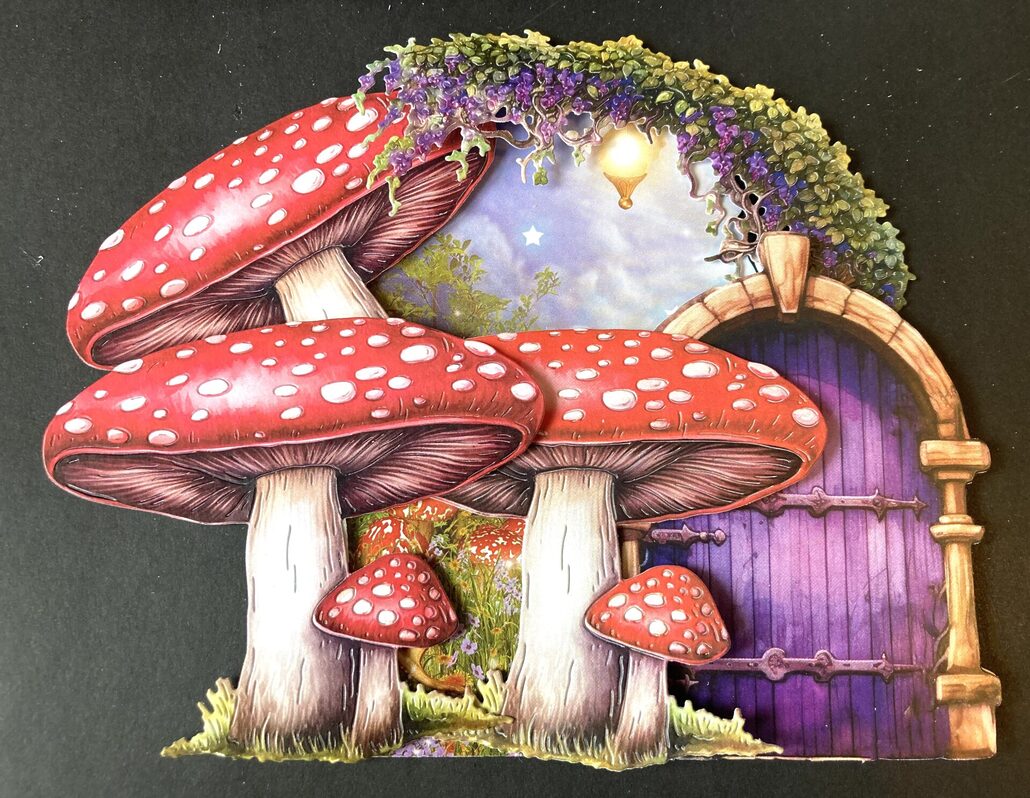
- Step 4 Glue another one of the mushrooms at an angle towards the top left hand side of the card and another to the bottom .
-

- Step 5 Cut from white card 1 more of the outer scene die and 1 of the fairy door glue the door one flat to the back of the card use the other scene piece as a stand by scoring along the top about inch down and glue to the back.
-

- Step 6 Glue the fairies in place and your card is done ! You can add some glitter for extra fairy sparkle if you wish!
I hope you have fun making this card ! Crafty hugs from Kath W 😊


Thank you for your tutorial the card is beautiful
Thank you ! You are very welcome 😊