

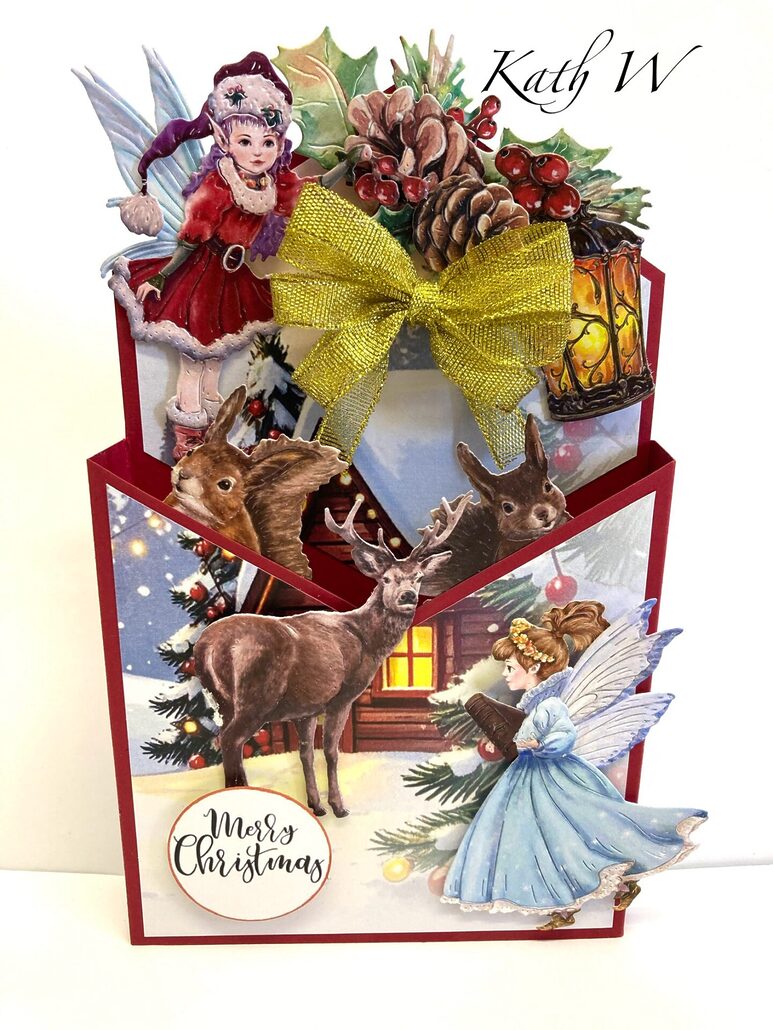

Envelope Box Card Using In The Studio Woodland Noel by Kath W
You will need:
- Craft Master Envelope Box Card Template
- In The Studio Woodland Noel
- Scene 06 from In The Studio Hollyhogs artwork
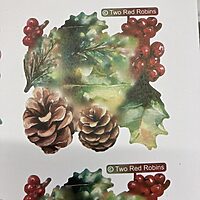
- Two Red Robins FOTM Pinecone Build A Bouquet dies
- A4 red card
- Scoreboard / tool
- Red liner tape
- Glue / glue gel
- Gold bow
- Sentiment
-

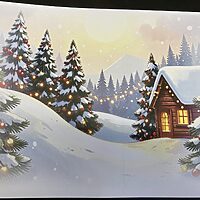
- Step 1 Print all the artwork, die-cut the reflections needed to make the project.
-
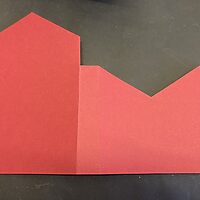
- Step 2 Follow the instructions to make the box card using A4 red card stock. (Do not secure the box, leave this open until the scene pieces are fixed in place). The template and instructions are available on highlightcrafts website.
-
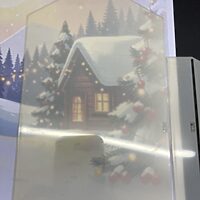
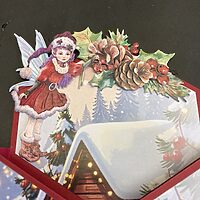
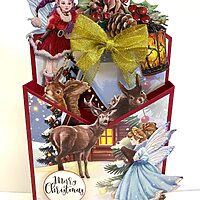
- Step 3 Cut-out the scene layers (see photo for positioning). I cut the scene layer so that the house part is shown on the front and back, then glue in place.
-
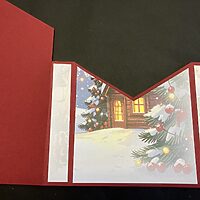
- Step 4 Add red liner tape to the card tab, fold and secure the card to create the envelope box shape.
-
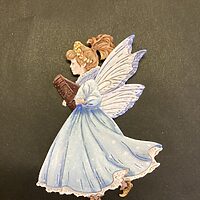
- Step 5 Cut the top off of one of the books, and glue under Tinselina’s arm.
-
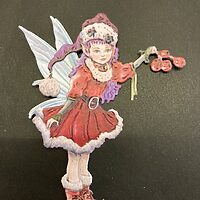
- Step 6 Arrange the foliage from TRR Build A Bouquet Pinecone, to the top of the card using 3D glue gel. Glue a small cluster of berries to Merrybell’s hand, and glue her to the top of the card (so it looks like she’s adding the berries to the spray).
-
- Step 7 Glue on the rest of the reflections, sentiment, and bow, and then your card is finished!
I hope you have a go at crafting this fun card!
Please be sure to post your makes in our Facebook pages, we would love to see them!
Crafty hugs from Katherine W


Leave a Reply
Want to join the discussion?Feel free to contribute!