

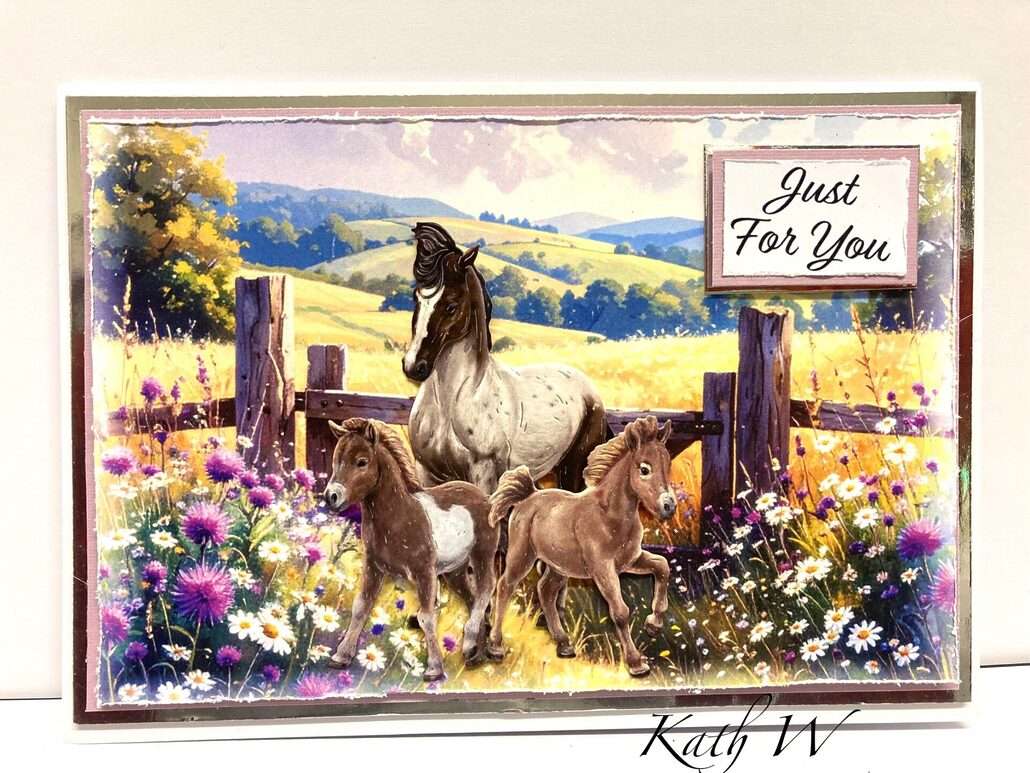

2 Quick And Easy Cards by Kath W
Hello everyone!
Do you ever need a card but haven’t got hours to spend making it?
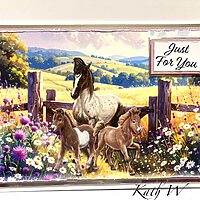
I have designed 2 cards that are super quick and easy to put together, and your recipients will absolutely love!
For Card 1, you will need:
- TRR Simply Scenes Scenes 001
- MCS TRR Vol 7 Dusty, Sadie and Sterling dies and reflections
- White A4 card stock
- Silver card stock
- Lilac/ pink card stock
- Foam pads
- Double sided tape
- 3D glue gel
- Scissors
- Scoreboard
-

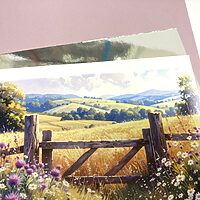
- Step 1 Fold the A4 white card-stock in half to make an A5 tent fold. Cut the silver card stock to 5.5“ x 8” add foam pads to back, attach to the base card.
-
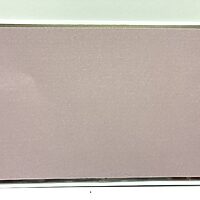
- Step 2 Cut the lilac card down to 5 1/4 “x 7 3/4”, add double-sided tape to the back, and stick on-top of the silver layer.
-
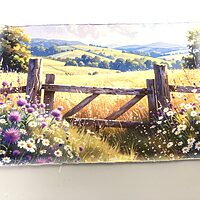
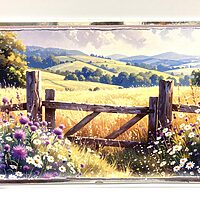
- Step 3 Change the size of Scene 001 in MCS to A5 landscape. I faded the edges slightly using the fading tool. Print out and cut the scene down to 5” x 7.5” and distress the 4 sides of the scene using the back of your scissors.
-
- Step 4 Add foam pads, and attach on-top of the lilac layer.
-
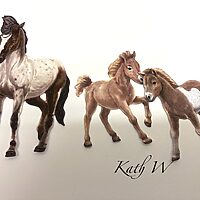
- Step 5 Die-cut the horses from Family Favourites Vol 7.
-
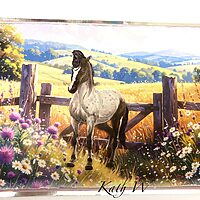
- Step 6 Add glue gel to the back of each piece, and position onto the scene.
-
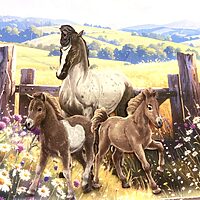
- Step 7 Mount a sentiment onto lilac and silver card, and attach to the right-hand side of the card.
-
- Your first card is complete!
For Card 2, you will need:
- A4 white card stock
- Blue card stock
- Brown/Kraft card stock
- TRR Simply Scenes 077
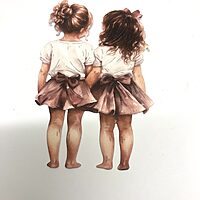
- In The Studio Forever Friends dies and reflections (Stay tuned for when these launch! This is a sneak peek!)
- Foam pads
- Double sided tape
- 3D glue gel
- Scissors
- Scoreboard
- Brown gingham bow
- Pearl embellishments
The layout for the second card is also super easy! And is made the same way as card 1!
-
- Just repeat the above steps, starting with the brown card stock.
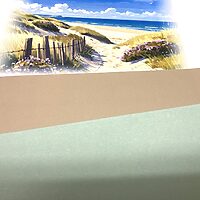
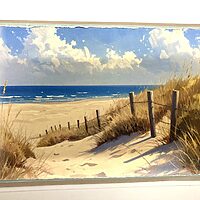
-
- Die-cut the little girls (Forever Friends), add glue gel to the back, and then position onto the card, looking out onto the beach.
-
- Finish with a sentiment, bow, and flat back pearls to each corner.
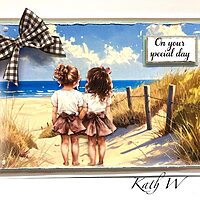
Your cards are now both complete! I hope you enjoyed this tutorial! Crafty hugs from Kath W😊


Nice. Thankyou.
Your welcome Christine 😊